
In this blog post, I’m sharing our exact 7 day Japan itinerary with Disneyland for you to steal. Here, you get to see the best of Tokyo, Kyoto, Tokyo Disneyland and DisneySea all in just one week.
Disclaimer: This post contains affiliate links. If a product is purchased using one of the following links, I may earn a small commission from the brand at no cost to you.
Japan Itinerary: 7 Days With Disneyland, Tokyo + Kyoto
Day 0: Arrival Day
Airport Arrival
On your arrival day, you’ll start your trip off easy because, as I’ve learned the hard way, there’s no use in overwhelming yourself on an arrival day in a new country. The only itinerary items on the agenda are getting to your hotel and finding food. You’ll officially start day one of the itinerary tomorrow. We flew from the USA into Tokyo Haneda (HND) airport, which is the Tokyo airport closest to city center. From HND airport, you can take the train and metro to your accommodations, a private transfer, a hotel shuttle or possibly the Airport Limousine bus depending on your destination.
I highly recommend checking the transportation information on your hotel’s website to get the best recommendations for your hotel transfer. That’s what I did (e.g. transportation information for Hyatt Regency Tokyo Bay here), and our transfer was fairly seamless. I personally opted for the Airport Limousine bus to spare myself the brain power it required to figure out public transport on day zero, and I booked the bus tickets here through Klook. As you’ll see throughout this Japan itinerary, the Klook app held all of our important pre-booked tickets, and it was really helpful to keep all of our tickets in one place. In terms of the Airport Limousine experience, took me a second to find the right bus stop at the airport, but a kind local saw us (we must have looked lost), smiled and offered help in English. So nice!
Hotel Arrival
We stayed at the Hyatt Regency Tokyo Bay for its close proximity and free transportation to the Tokyo Disneyland parks without paying Disneyland prices. In fact, we paid $0.00 for our stay here because it is bookable with Chase Ultimate Rewards points. This was a great hotel, and we would definitely stay here again if we were prioritizing Disneyland in our Japan itinerary. However, this hotel is a trek to city center. So, if you would prefer to stay in central Tokyo as opposed to close to the Disney Parks, I would opt for another hotel. For this specific Japan itinerary, the Hyatt Regency Tokyo Bay was great.
Pro tip: if you do choose to stay at the Hyatt Regency Tokyo Bay, there aren’t many restaurant options nearby. But, there is a Lawson in the Comfort Suites next door. Lawson is a popular konbini chain in Japan (AKA a convenience store) that sells excellent grab-and-go food options, as well as snacks, drinks and even hot food. You do not need to be a guest at the Comfort Suites to shop here, and there is a separate door into the konbini from outside the hotel. I found this tip deep in a Reddit thread, and it worked like a charm. We ate here on day zero. Keep this konbini in mind throughout the itinerary too.
Day 1: Tokyo (Kaminari Mon, Nakamise, Senso-Ji, Tokyo Tower, Meiji Jingu + Shibuya Crossing)
One day one, you’ll start your morning bright and early. We woke up at 5:00 a.m. to be ready to get breakfast at the Comfort Suites Lawson at 6:00 a.m. At 6:30 a.m., we headed into central Tokyo by taking the hotel’s free bus to the JR Shin-Urayasu Station and then taking the metro to Kaminari mon.
Preload Your Suica Card
Pro tip: add the Suica card to your Apple Wallet and preload money to your Suica card before your trip. You can use your Suica card to pay for the metro, Airport Limousine and even at most retailers, giving you one less thing to think about (i.e. how to get a metro card in Tokyo) when you start your trip. I preloaded my and my husband’s Suica cards with 4000 yen before our trip to get us started. If needed, you can easily reload more money with Apple Pay.
Day one is designated for exploring Tokyo proper. We chose to spend one day in Tokyo proper and three days in the Disney Parks, but you can totally spend more time in Tokyo proper if you would prefer. Considering you’re probably reading this specific Japan itinerary with Disneyland, I assume you would also like to make the parks a priority in your Japan itinerary, so I’ll be sharing exactly what we did on day one.
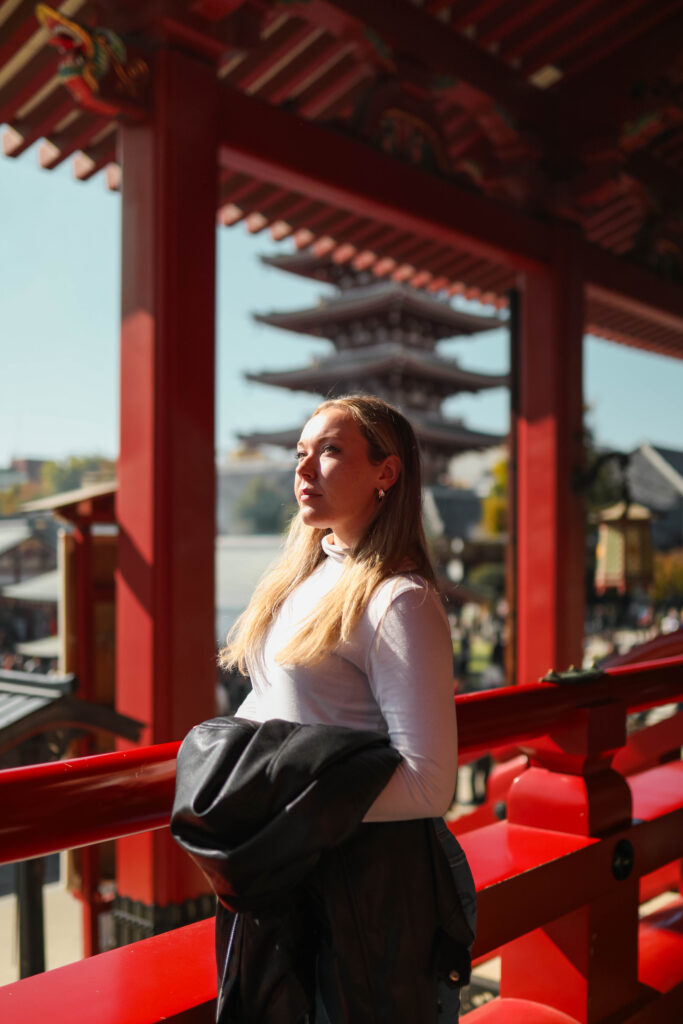
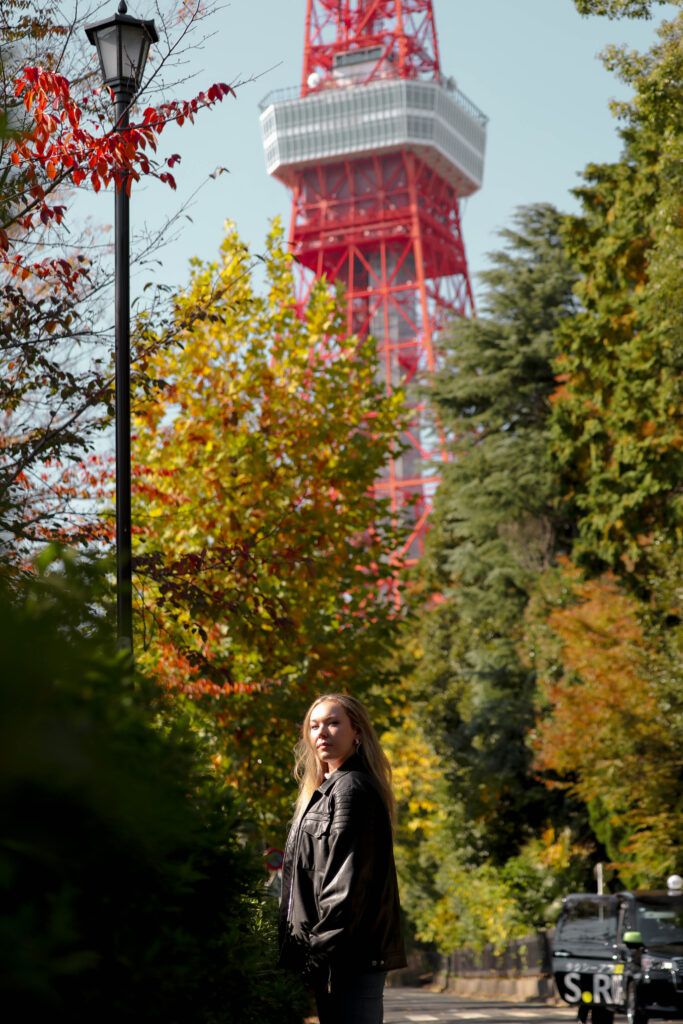
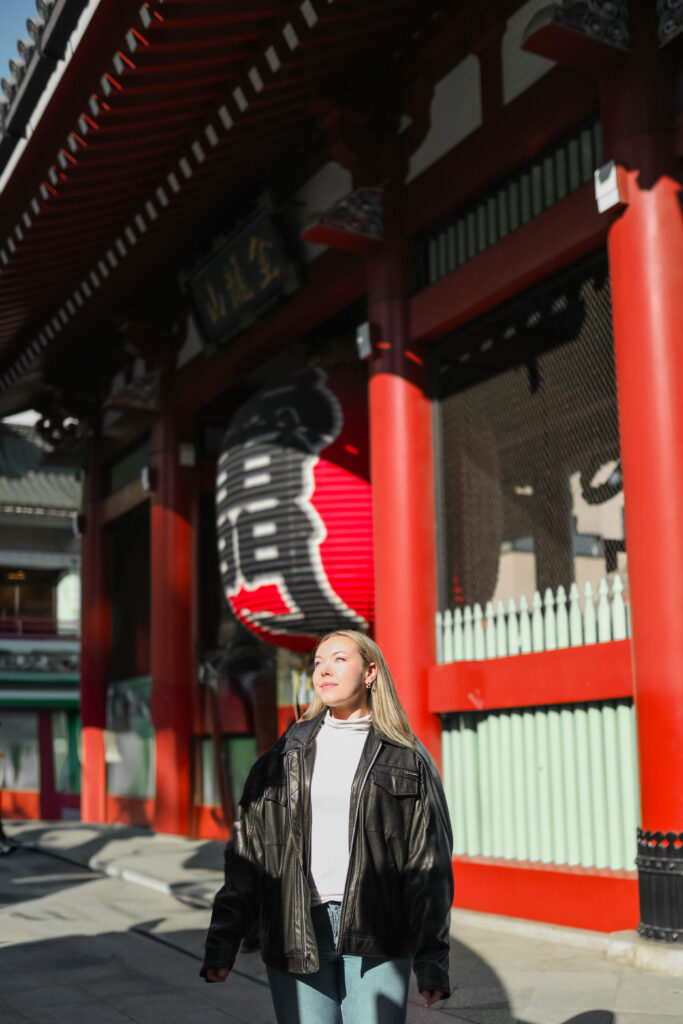
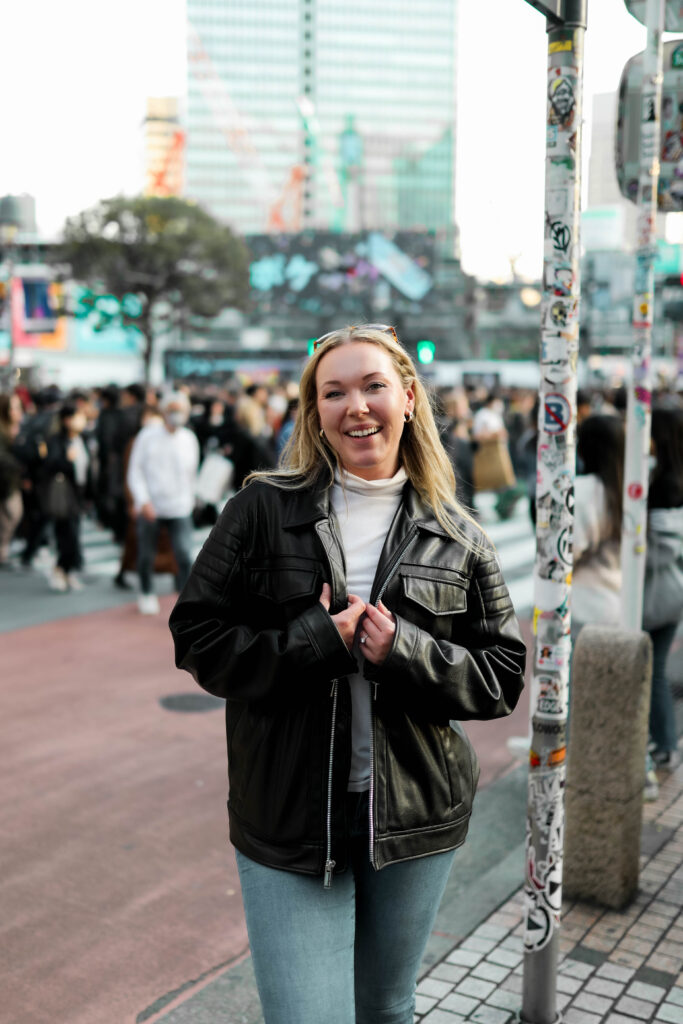
Tokyo is one of the largest metropolitan on Earth, so it’s no secret that it’s pretty much impossible to see all of Tokyo in one day. But, you can cover a lot of the main attractions. I’ll be posting a separate blog post with our one day in Tokyo in detail, but for now, here’s how our day went: Kaminari mon, Nakamisa Shopping Street, Senso-ji and getting paper fortunes and Senso-ji, Toykyo Tower, Meiji Jingu shrine, Shibuya Crossing, conveyor belt sushi at Mawashisushi Katsu Seibu Shibuya, and, finally taking the metro and hotel shuttle bus back to our hotel to prepare for the Disney Parks by 9:00 p.m. Obviously, adjust your one day in Tokyo as necessary depending on your trip group size, whether your traveling with children, sleep needs, etc.
Day 2: Tokyo Disneyland
Secure Your Disney Premier Access Passes
Day two is your first official Tokyo Disney Parks day. The lines to get into Tokyo Disneyland are just as crazy as the viral videos make them seem, so it’s important to start your day early. These lines move really quickly; however, you’ll still want to be inside the park as early as possible to reserve your Disney Premier Access passes (DPAs), which is basically Tokyo’s version of a Lightning Lane. You have to be inside the park to reserve your DPAs, and some rides sell out within minutes of park opening. Even as a budget traveler, I find the DPAs to be worth the money. You’re paying a lot less to visit the Tokyo parks than the US parks, so, in my opinion, it’s a lot easier to justify spending a few extra dollars on the DPA passes.
How Early To Get To Tokyo Disneyland
Be in line at the park entrance 90 minutes before the park opens. For us, the park officially opened at 9:00 a.m., so we took the hotel shuttle bus at 6:50 a.m. to be in line by 7:30 a.m. There was already a sea of people in line by that time, but I don’t think we needed to get there any earlier.
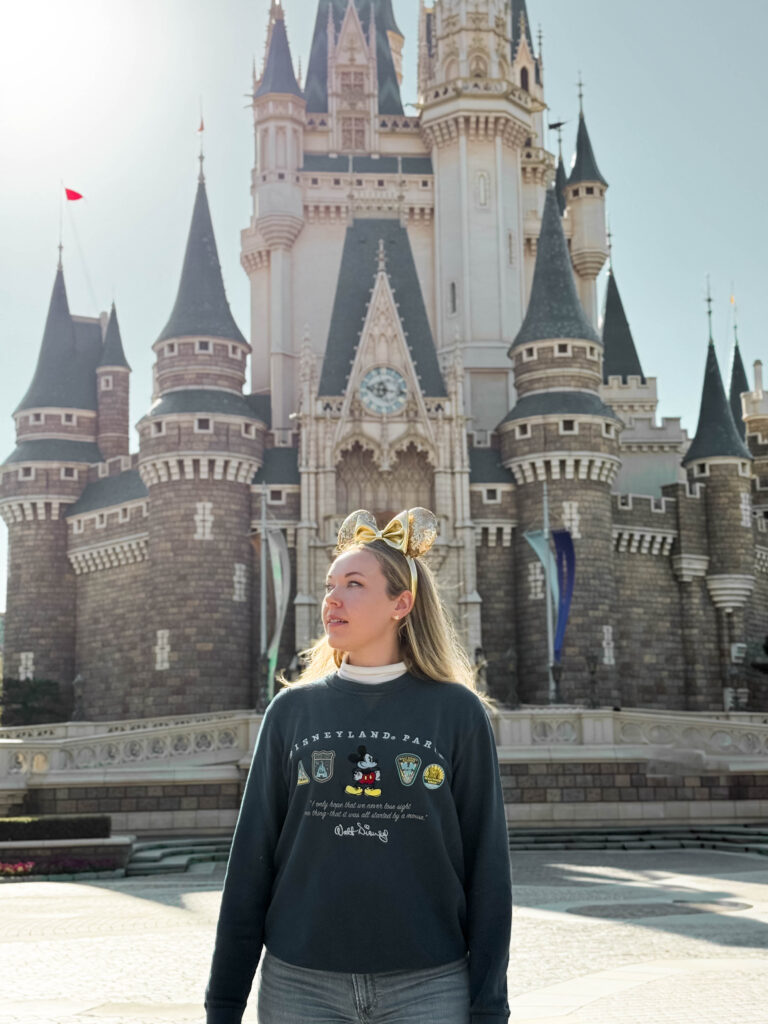
We brought Lawson to-go breakfasts and coffee to pass the time in line. Although eating while walking is not typically culturally acceptable in Japan, I noted many other Japanese guests eating while in line for the parks. So, it seems we all had the same idea that eating in line would help pass the time. Plus, eating in line instead of at your hotel will save you a little time in the morning to sleep in.
Another reason why you’ll want to be in line early is because, from our experience, Cast Members may start letting people through security and even through the park entrance before the official opening time. We were consistently inside the park around 10-15 minutes before park open every day, which was the perfect amount of time to secure our DPA passes.
One Day In Tokyo Disneyland
In terms of your actual park day, Tokyo Disneyland is very similar layout-wise to Walt Disney World’s Magic Kingdom and Disneyland California, so if you’re familiar with those parks, you’ll know your way around Tokyo Disneyland generally speaking. I have an entire guide comparing and contrasting Tokyo Disneyland and Disney World here. Be sure to download the Tokyo Disney Resort App for the park map, wait times, easy park pass access and more. We booked our park passes on Klook because there was a park pass deal on Klook (we got free eSIMs with the purchase), and it was easy to link our park passes from Klook to the Tokyo Disney Resort app. So, it may be worth checking Klook for deals.
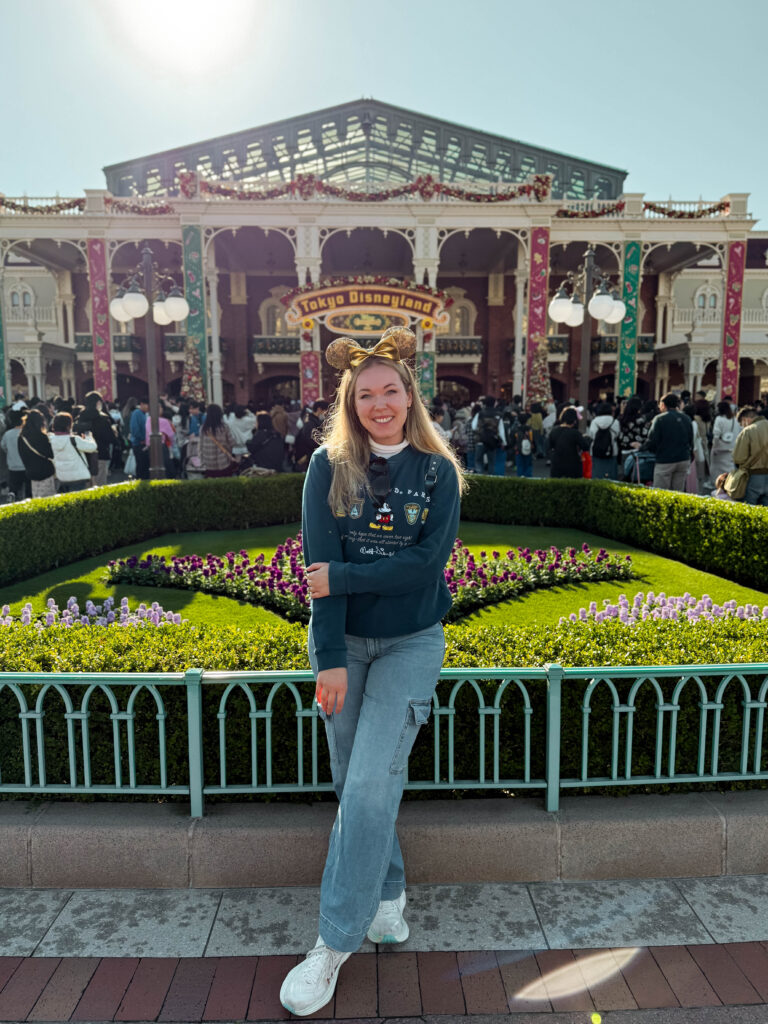
Moreover, while you should definitely make your way around the park and do as much as you can, don’t forget to prioritize the attractions unique to Tokyo Disneyland. These attractions include ToonTown, Enchanted Tale Of Beauty And The Beast, Pooh’s Honey Hunt and more. We didn’t check out ToonTown until just minutes before park close, and we were stunned at how big this area of the park was compared to Disneyland California’s ToonTown. We totally would have spent more time in this area of the park had we known sooner.
Day 3: Tokyo DisneySea
Now that you know the ins and outs of securing your DPA passes and getting to Tokyo Disney Resort, we can dive right into your DisneySea days. DPA passes work the same way in Tokyo DisneySea as Tokyo Disneyland, and I would still recommend arriving at Tokyo DisneySea 90 minutes prior to park opening.
If you want to see as much of Tokyo DisneySea as possible, I suggest designating two whole Japan itinerary with Disneyland days to the DisneySea park. There is a lot of variation between Tokyo DisneySea and the other Disney Parks, so you can easily spend two days here in my opinion. We could have spent an entire day in Fantasy Springs, a singular area of the park, alone!
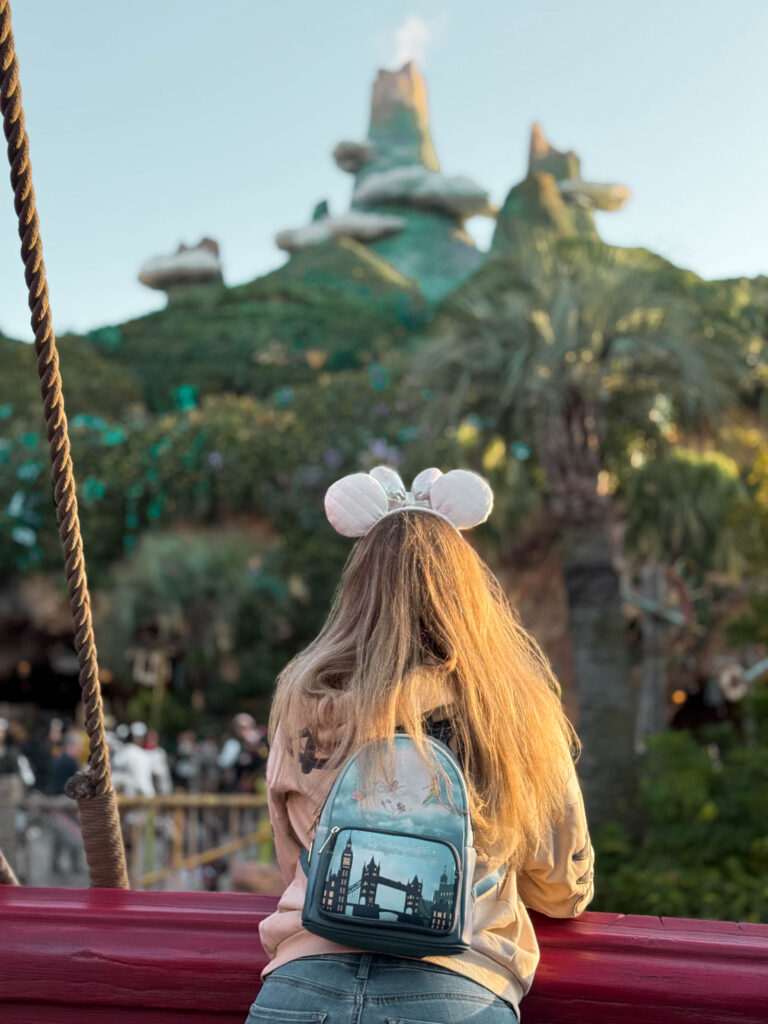
On your first day in Tokyo DisneySea, I would arrange your park day depending on which DPA passes you are able to secure. The Fantasy Springs ride wait times are insanely long, and the DPA passes sell out fast. Take what you can get, and arrange your park day from there. Once, we saw the Frozen ride line peak at four hours (crazy, I know). Thankfully, we secured DPA passes for the Frozen ride. So, we were able to totally bypass this line and save 3.5 hours of our park day for just $12.63 per person. Trust me, the DPA passes are worth the money for this park. I’ll show what not to miss in Tokyo DisneySea days next under day four.
Day 4: Tokyo DisneySea
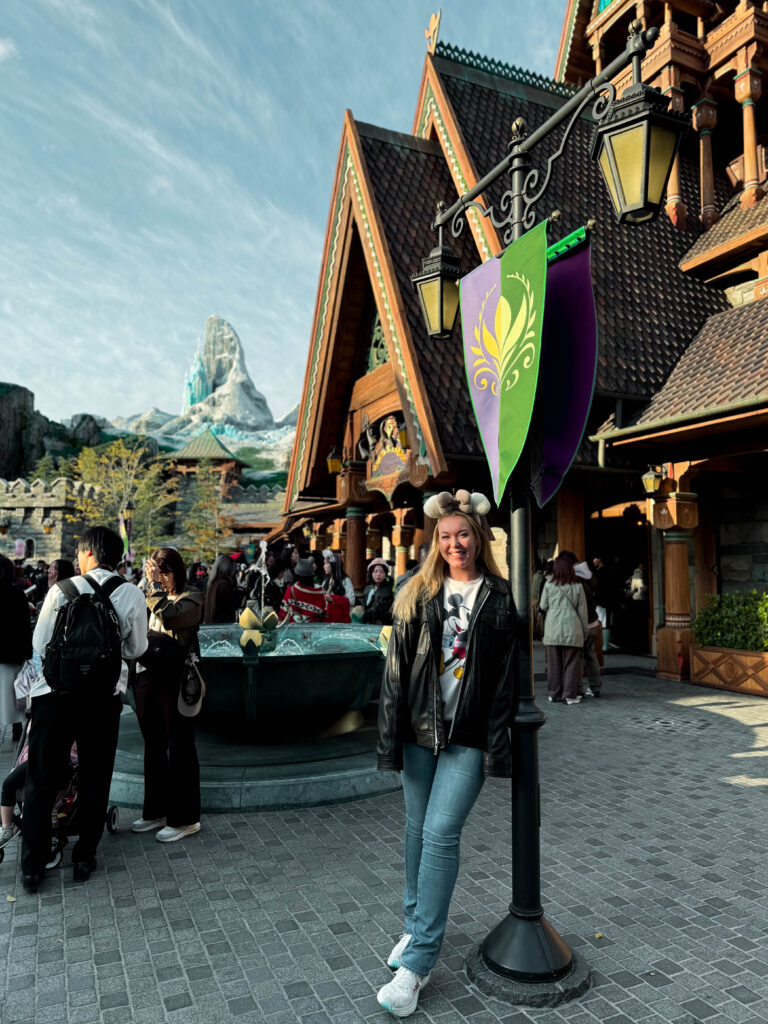
Like I said, we easily filled two whole days of our 7-day Japan itinerary with Disneyland with just Tokyo DisneySea. So, day four is designated to Tokyo DisneySea too. Now, let’s talk more about what exactly you should do in Tokyo DisneySea. Fantasy Springs is, by far, the best area in Tokyo DisneySea. You’ll probably want to spend most of your time in this area of the park. Fantasy Springs is home to the coveted Peter Pan, Frozen and Tangled attractions. Here, you can fly through Never Land on Peter Pan’s Never Land Adventure, adventure through captain Hook’s ship and Skull Rock, and even eat at the legendary Snuggly Duckling.
Tokyo DisneySea Fantasy Springs
My favorite Disney movie growing up was Peter Pan, so maybe I’m biased. But, the Never Land section of Fantasy Springs is epic. While you’re here, notice the details. Notice the native teepees built on top of the island volcano. Notice Jane’s makeshift raft in the lagoon that she built in the second movie, Peter Pan: Return To Never Land. Not to mention, the Arendelle section of Fantasy Springs has the most immersive Disney Park theming I’ve ever seen. Between the townhomes, dock, bridge, castle, castle courtyard, mountaintop homes and more, it really feels like you’ve stepped into Arendelle. Also, Anna And Elsa’s Frozen Journey is the best Frozen ride in my opinion. It’s a lot longer than the Florida version, and it actually goes through the movie’s storyline sequentially.
More Things To Do In Tokyo DisneySea
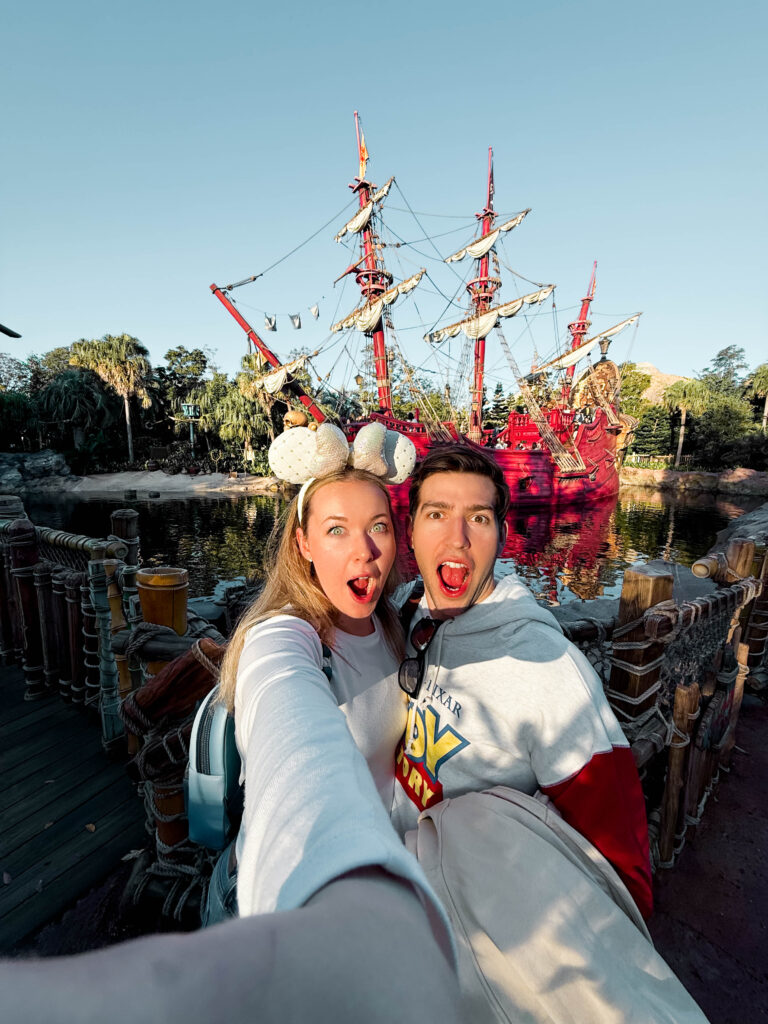
Aside of Fantasy Springs, there are tons of other attractions here that are unique to Tokyo DisneySea. Raging Spirits was our favorite coaster. Although, it was the only thrill ride open when we visited, and it is a really, really short ride. There is also Rapunzel’s Lantern Festival, Fairy Tinker Bell’s Busy Buggies, Indiana Jones Adventure (closed during our visit), Tower Of Terror (different storyline than other parks), Journey To The Center Of The Earth (also closed during our visit), Sinbad’s Storybook Voyage, the cutest Toy Story Mania area, and the rides in the indoor Mermaid Lagoon area.
Day 5: Bullet Train To Kyoto
Moving on from Tokyo Disney Resort, on day five, you’ll have a domestic travel day. Feel free to sleep in a little if you want. Then, check out of your Tokyo hotel and head to the train station. We booked our Shinkansen bullet train tickets to Kyoto on Klook from Tokyo Station. To get to Tokyo Station from the Hyatt Regency Tokyo Bay, we took the hotel bus to JR Shin-Urayasu Station and then took the metro to Tokyo Station. Give yourself extra time to navigate Tokyo Station, as you’ll have to leave the metro platform area and locate the Shinkansen platforms. I recommend giving yourself at least an hour to navigate the Shinkansen.
Additionally, pick up lunch to eat on the train at a nearby konbini (Lawson, 7/11 or FamilyMart). It’s perfectly acceptable to eat on the train, and it will make the ride go faster. Also, if you’re prone to motion sickness, bring motion sickness relief. My husband did feel motion sick on the bullet train. En route, you’ll pass Mt. Fuji on the right side of the train. Keep this in mind when booking your bullet train tickets, too, if you want a window seat view. A couple hours later, you’ll arrive in Kyoto.
From Kyoto Station, take the metro toward your hotel. We stayed at the Hyatt Place Kyoto for free on points. Read my full guide to Japan on points here. Even though this hotel wasn’t as central as the Hyatt Regency Kyoto (which is in a perfect location in Gion), the Hyatt Place Kyoto hotel was fewer points and still great. It was literally next door to the metro station, so it was still super easy to get around, find dinner at the Nishiki Market and explore Kyoto on the next two Japan 7-day itinerary with Disneyland days.
Day 6: Kyoto (Fushimi Inari Shrine + Gion)
Fushimi Inari Shrine
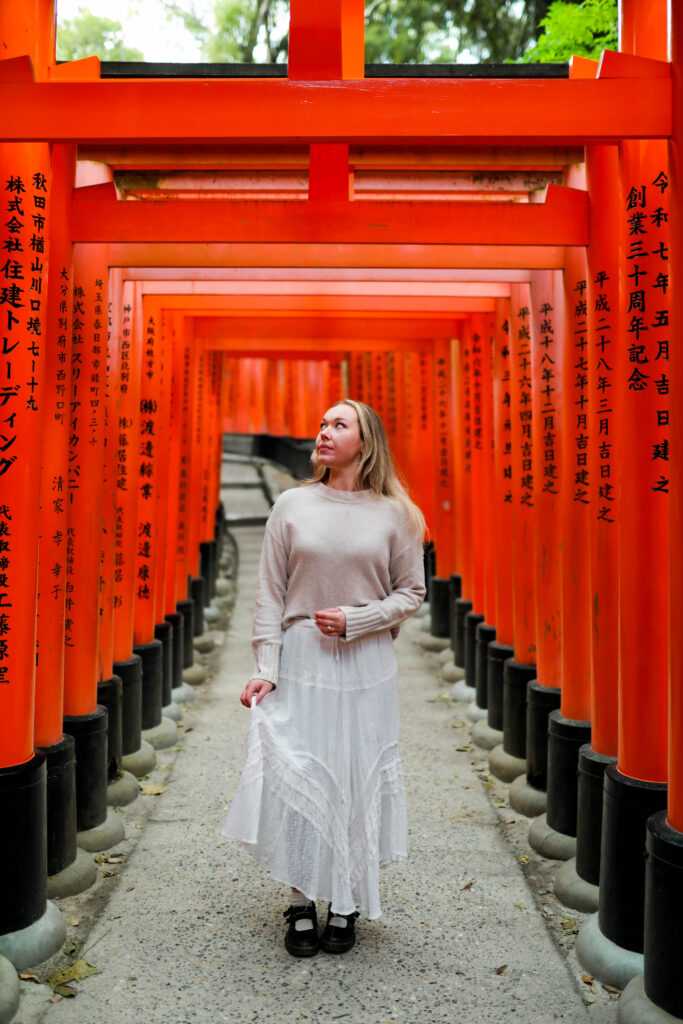
Day six marks your first full day in Kyoto. Start your day early, grabbing breakfast and coffee at the nearby 7/11. (Pro tip: we purchased our konbini breakfasts the night before so we could eat right away in the morning without having to make an extra stop.) Take the metro from your hotel to Fushimi Inari. Fushimi Inari is one of my favorite places on this 7-day Japan itinerary with Disneyland. Here, you see the Senbon Torii gate, Fushimi Inari Shrine and can hike the beautiful red Thousand Torii Gates on the mountain trails toward Totsutsuji Intersection. You want to get here early as possible — I’m talking 6:00 a.m. early — to avoid crowds.
Gion
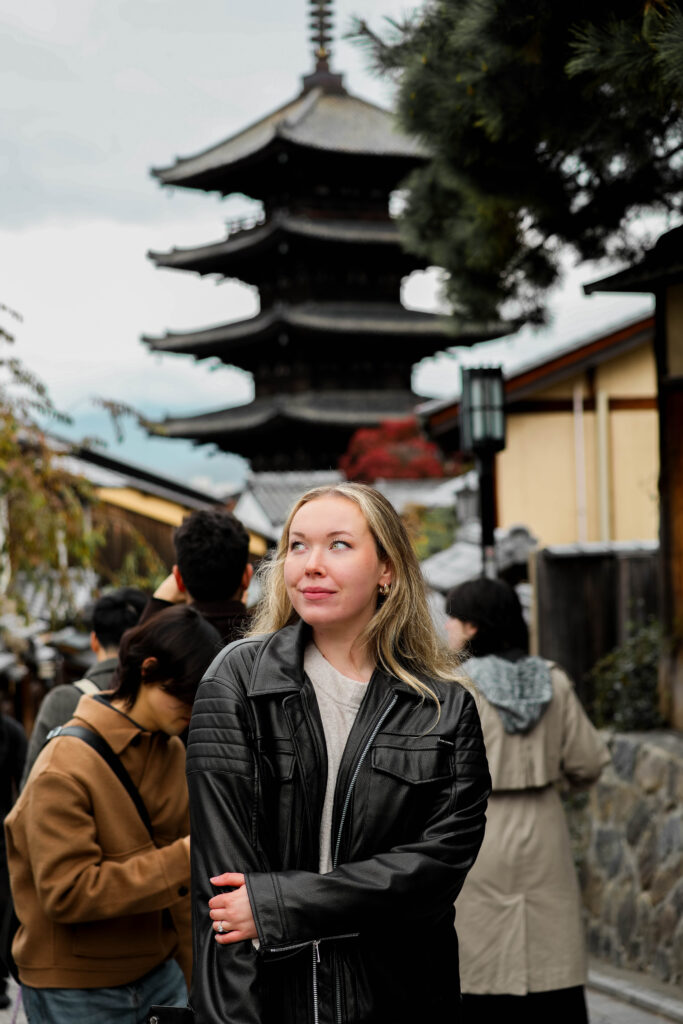
Next, take the metro to the Gion district. Gion is home to several iconic Kyoto photo spots, featuring the Yasaka Pagoda, and the traditional Ninenzaka and Sannensaka streets. This is a fabulous area to shop for souvenirs, immerse in Japanese culture and even see a traditionally dressed geiko woman or two. We grabbed lunch at the Starbucks Coffee Kyoto Ninenzaka Ysaka Chaya, which is famous for its traditional Japanese mat seating. The wooden building that houses the Starbucks is stunning. However, it was extremely crowded and slightly overwhelming. In fact, we didn’t even get to sit on the floor mats. We ended up eating at a table.
Kiyomizu-dera Temple
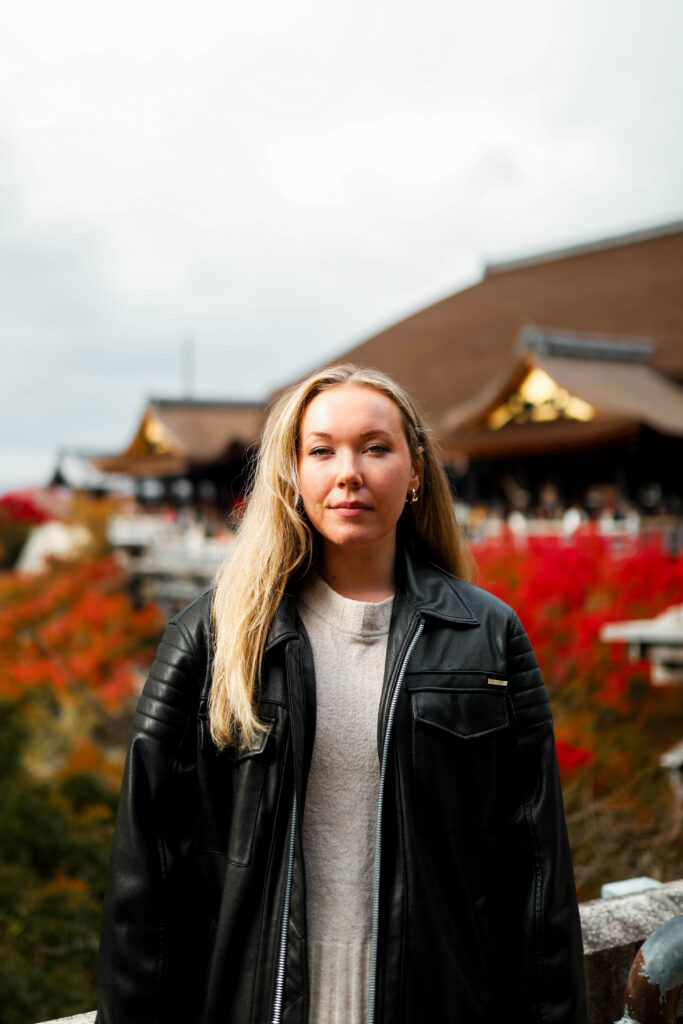
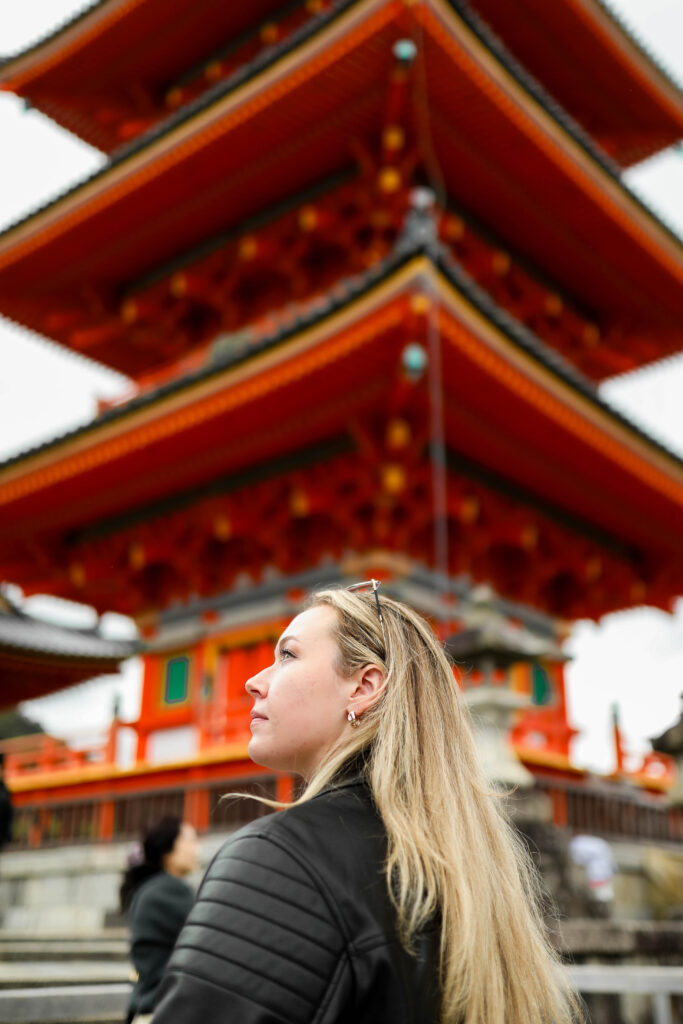
After lunch, walk up the street to Kiyomizu-dera Temple. It’s only about a 5-10 minute walk uphill, and there are dozens of great souvenir shops along the way. Kiyomizu-dera Temple is a historic Buddhist temple with beautiful grounds to explore. Not only can you explore the temple itself, but you can also walk a short path to several pagoda towers. The temple towering over delicately cared-for trees here calls for some beautiful Japan trip photo opportunities.
Dinner at ICHIRAN
Finally, find dinner nearby before returning to your hotel. The restaurant Izuju Sushi was on my original itinerary, but we ended up going back to our hotel early to rest and eating a konbini dinner (again). Another restaurant we tried and absolutely loved, though, is ICHIRAN for ramen. ICHIRAN is a Japanese ramen chain, so you can eat here in Tokyo too. Delicious is an understatement. You order from a kiosk, are seated at a booth with dividers, and are served without seeing or talking to any servers. This ramen joint is an introverts dream. This was also the most full I have ever felt in my entire life.
Day 7: Kyoto (Arashiyama Bamboo Forest + Monkey Park)
Arashiyama Bamboo Forest
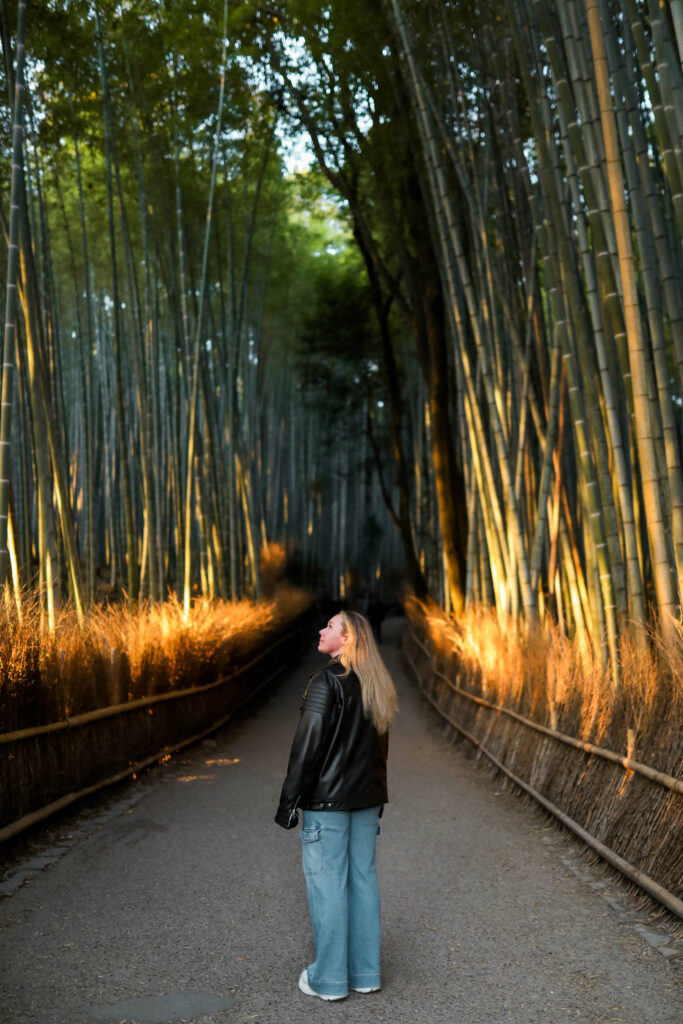
Day seven is your last full day in Japan. As such, you’ll want to start your day as early as possible once again to maximize your time and avoid crowds. After a quick konbini breakfast, take the metro from your hotel to Arashiyama Bamboo Forest. Like the Fushimi Inari Shrine, the bamboo forest becomes very crowded very early. I recommend getting here no later than 6:30 a.m. if possible. Both Arashiyama and Fushimi Inari are a good distance outside of the city center as well, so give yourself at least an hour to get to these places by metro from your hotel. The bamboo forest itself is smaller than I originally envisioned it, so you don’t need more than 30 minutes to see it and snap a few photos. It’s also free to visit.
Adashino Nenbutsuji Temple
Next, walk the Saga Toriimoto Preserved Street from Arashiyama Bamboo Forest to the Adashino Nenbutsuji Temple. Adashino Nenbutsuji Temple is famously home to 8000 Buddha statues, commemorating the souls of those who died without family to remember them, as well as its own bamboo grove. Keep in mind, this temple does not open until 9:00 a.m., so you’ll probably be there before opening. But, when we arrived nearly an hour early, there was already one person in line.
It’s also important to know that it costs 500 yen per adult to visit the temple, and when we visited, they only accepted cash. Unfortunately, we did not have enough cash to enter both the temple and our next stop, so we stepped out of line and missed this 7-day Japan and Disneyland itinerary stop. Learn from our mistake. Bring cash! When we stepped out of line about 30 minutes before opening, there was already a line of 10-15 people.
Arashiyama Monkey Park Iwatayama
Walk the Saga Toriimoto Preserved Street back and/or take the bus to the Arashiyama Park area to find lunch before your next adventure: Arashiyama Monkey Park Iwatayama. There are loads of restaurants and street food options in this area. After lunch, cross the famous Togetsukyo Bridge to get to the monkey park. Arashiyama Monkey Park is home to about 120 wild native Japanese snow monkeys. Don’t be fooled — this is not a zoo. These monkeys are wild and only hang out around the park thanks to feeding time. You can even pay for a food portion to feed the monkeys yourself (from the safety of the feeding hut), which was really fun.
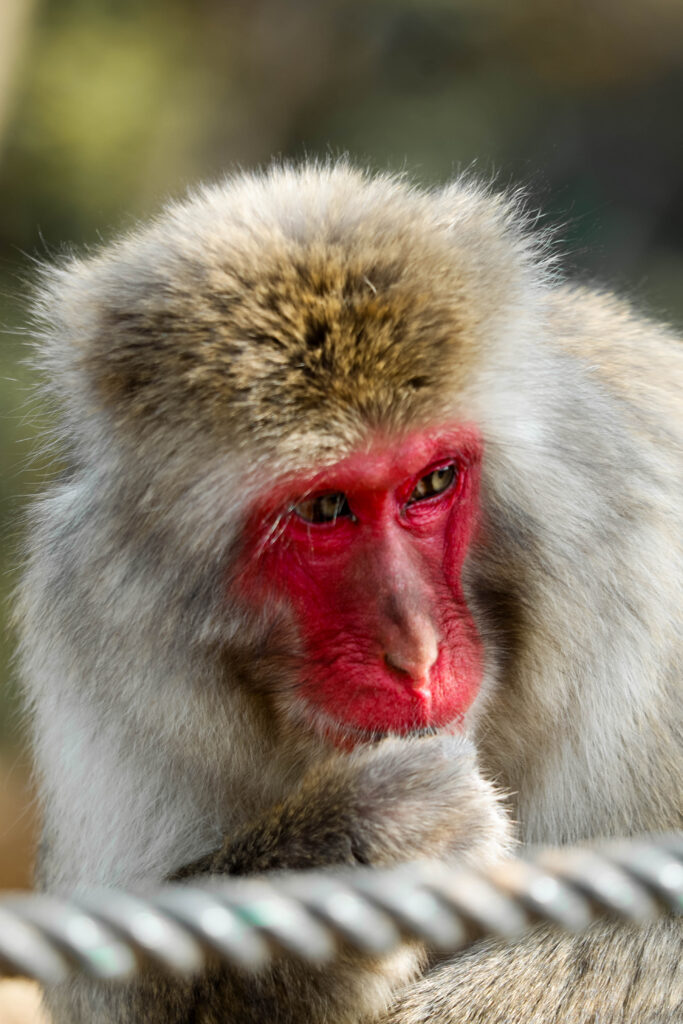
You do have to hike about a half mile (each way) up the side of Arashiyama Mountain to get to the park. The trail is well maintained and well shaded, but somewhat steep with a lot of stairs and a few switchbacks. You’ll gain about 400 feet of elevation on the hike. You’ll hear monkeys chirping all the way up too. At the end, you’re rewarded with monkeys galore. As long as you follow the park rules (don’t crouch, stare, touch the monkeys, show teeth or feed the monkeys outside the designated hut), the monkeys are harmless. Note: admission costs 800 yen per adult and is cash only. In my opinion, Arashiyama Monkey Park Iwatayama is definitely worth it.
For dinner, you can either find food in the Arashiyama area, Nishiki Market or near your hotel. Then, have an early night at your hotel to pack up, check in for your flight and prepare for departure.
Departure Day
Your Japan 7-day itinerary with Disneyland is almost complete. You’ll probably fly out of Tokyo, which means you’ll backtrack your way back to Tokyo from Kyoto via metro and Shinkansen bullet train. Instead of buying bullet train tickets to Tokyo Station, however, I recommend buying tickets to Tokyo Shinagawa Station instead. Tokyo Shinagawa Station is closer to Tokyo Haneda airport. Of course, double check the exact airport you’re flying out of because there are two in Tokyo. We booked our return bullet train tickets on Klook.
Give yourself plenty of extra time to get to the airport from Kyoto. For perspective, we booked Shinkansen tickets to arrive at Tokyo Shinagawa Station at 12:08 p.m. even though our flight didn’t depart until 5:20 p.m. I’m glad we gave ourselves extra time because the metro to the airport terminal was extremely crowded. We had to wait in line for several trains before we could weasel ourselves and our luggage onto a train car. It’s better to be early to the airport than late. We hung out at the Centurion Lounge in HND pre-flight thanks to our AMEX Business Platinum Card, which was a fabulous way to end our 7-day Japan itinerary with Disneyland.
Japan Itinerary 7 Days Budget
Now that you can visualize how jam-packed this 7-day Japan itinerary is, let’s talk numbers. In total, including hotels, flights, food and park passes, we spent around $1500 USD for the two of us. Below, I’ll review how much we spent on flights, hotels, Tokyo Disneyland and food for our seven days in Japan. If you’ve read my other blog posts, you may already know that I am a points and miles traveler. I swear by credit card points and miles to travel for free or nearly free. I have loads of points and miles guides here if you’re interested in exactly how I manage to travel on points. But, if you do not use the same points and miles strategy that I did, expect to pay thousands more than us for flights and hotels.
Flights For 7 Days In Japan
In total, we spent $147.36 (and 273,300 points) on our round-trip flights from Wisconsin to Tokyo. This included our domestic positioning flights from Wisconsin to Seattle, my Delta One business class flight from Seattle to Tokyo, my husband’s economy flight from Seattle to Tokyo, and both of our economy flights back from Tokyo to Wisconsin. Our flights valued well over $8000 in total (my Delta One flight alone was worth $6000), but we paid $147.36. Read how we did it here.
Hotels 7 Days In Japan
For hotels, in total, we spend $0.00 (and 88,500 points) for our seven hotel nights in Japan. Like I said, we stayed at the Hyatt Regency Tokyo Bay for five nights, which cost us $0.00 and 60,000 points. In Kyoto, we stayed at the Hyatt Place Kyoto for three nights, which cost us $0.00 and 28,500 points. Read how we did it here.
Tokyo Disneyland Cost
Tokyo Disney Resort is significantly cheaper than the US Disney Parks. In fact, our entire Japan trip cost thousands of dollars less than our family trip to Disney World. You can read a full cost breakdown comparison between Tokyo Disney Resort and Walt Disney World here. For the two of us, we spent about $354 total for three days of Tokyo Disneyland park passes ($177 per person for three days). In addition to park admission, we spent about $78 on DPA passes to skip the parks’ longest lines. For souvenirs, we spent about $150. We bought a couple Disney pins each, two Mickey ears (for just $11 USD each, which is crazy compared to the $35 USD ears cost in Disney World) and two sweatshirts. Aside from food, we spent a total of approximately $582 in Tokyo Disneyland for three days as a couple.
How Much To Budget For Food For 7 Days In Japan
If you’re coming from the US, food in Japan will feel very affordable during your 7-day Japan itinerary with Disneyland, even inside the Disney Parks. We ate out at a sit-down restaurant at least once a day, ate konbini food — correction: overate konbini food — for all of our other meals, and we did not hesitate to buy a fun konbini non-alcoholic beverage, such as a coffee or tea, whenever we wanted. We spent about $1000 USD total on food for two people in Japan for a whole week. I go in depth about the cost of food in Tokyo Disneyland in this blog post if you’re interested in learning more.
More Japan + Disney Travel Guides
How To Travel To Japan For Free (Hotels + Flights)
Tokyo Disneyland Vs. Disney World: Which Is Better?
Best Snacks At Disney World You Need To Try
Save This 7 Day Japan Itinerary With Disneyland
Save this Japan itinerary for 7 days with Disneyland for later by sharing to socials.



Leave a Reply