When you’re traveling, you want to capture photos to make your memories last. But, you don’t want all of your photos to look the same, with the same basic poses, subjects and cheesy faces. Here are 15 easy travel photography tips for beginners to help you do this.

Disclaimer: This post contains affiliate links. If a product is purchased using one of the following links, I may earn a small commission from the brand at no cost to you.
1. Get To Know Your Camera
Regardless of whether you have a $10,000 camera or an old iPhone 7, knowing your camera’s abilities is paramount to your photography.
I won’t lie. Learning manual photography takes a lot of time, trial and error, but it is worth it.
Almost all digital cameras (including smartphones) have manual functions, and, let me tell you, manual photography will make your beginner travel photography look professional even as an amateur.
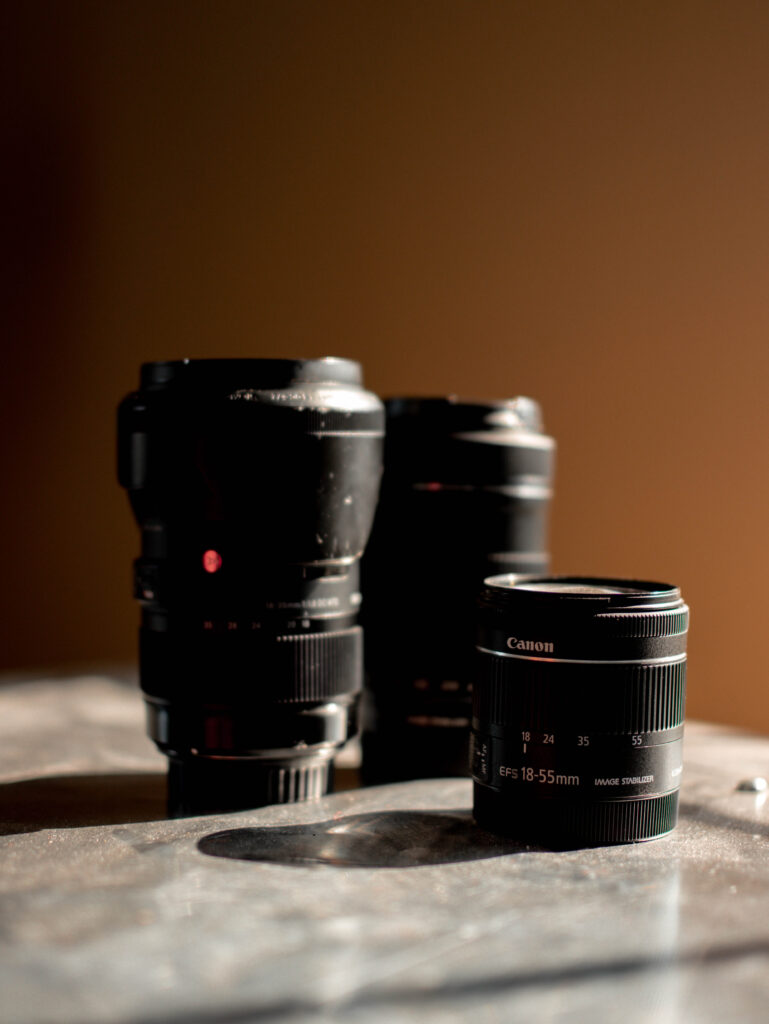
If manual photography feels way too overwhelming right now (which, to be honest, it is very overwhelming at first), set yourself a small, achievable goal to regularly learn more about manual photography.
For example, set a goal to learn one new thing about manual photography per week. You could read blog posts, watch YouTube videos or research on social media platforms like Instagram and Pinterest.
2. Learn Basic Photography Rules
Okay, enough about manual photography. After all, these are travel photography tips for beginners.
Basic, easy-to-learn photography rules will completely transform your travel photos from amateur to pro even if you are shooting in auto. These rules include (but are not limited to) the rule of thirds, framing, using leading lines and symmetry.
Rule Of Thirds
To implement the rule of thirds, imagine the screen split into thirds horizontally and vertically while framing your photo.
You also even turn on the thirds grid on your iPhone by heading to settings > camera > and swiping the “grid” toggle on.
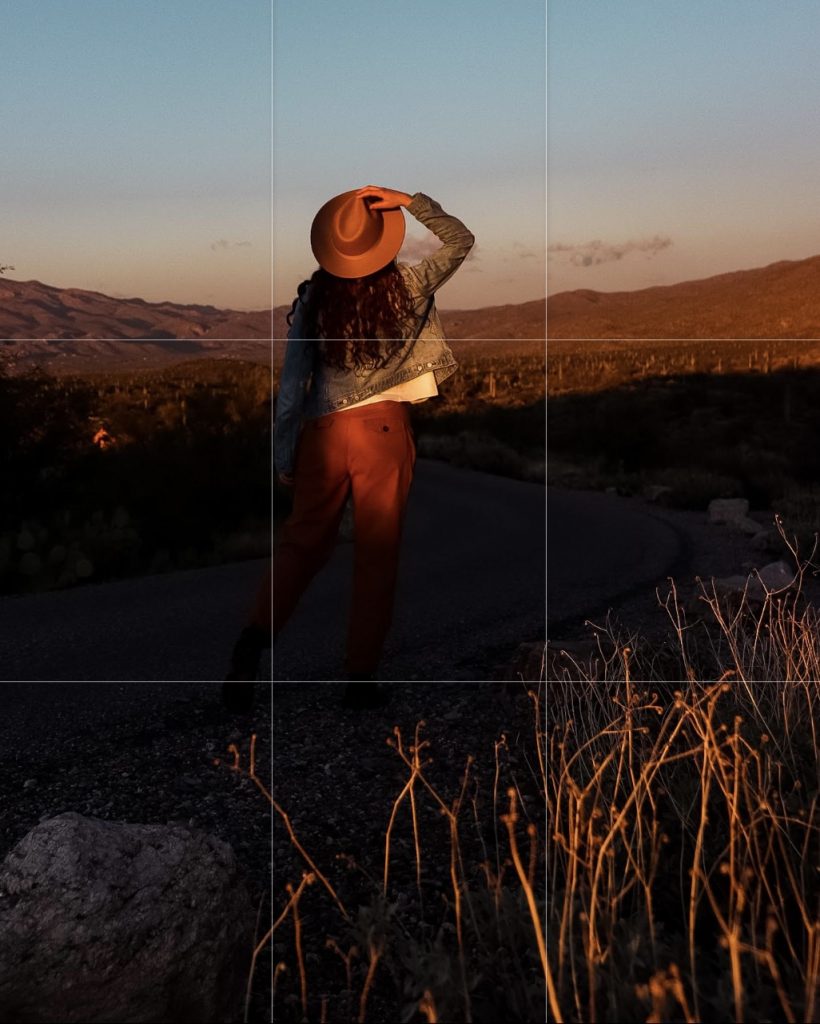
The rule of thirds refers to placing the subject of a photo in either the middle third, or on the first or second-third division lines. This doesn’t have to be perfect, but the concept helps make the final shot appear more balanced.
Framing
Furthermore, framing refers to the “frame” of the photo. It’s almost like placing the subject of a photo in a picture frame without an actual picture frame.
Framing draws the viewers’ eyes right to the subject, creating an appealing sense of harmony, balance and symmetry.
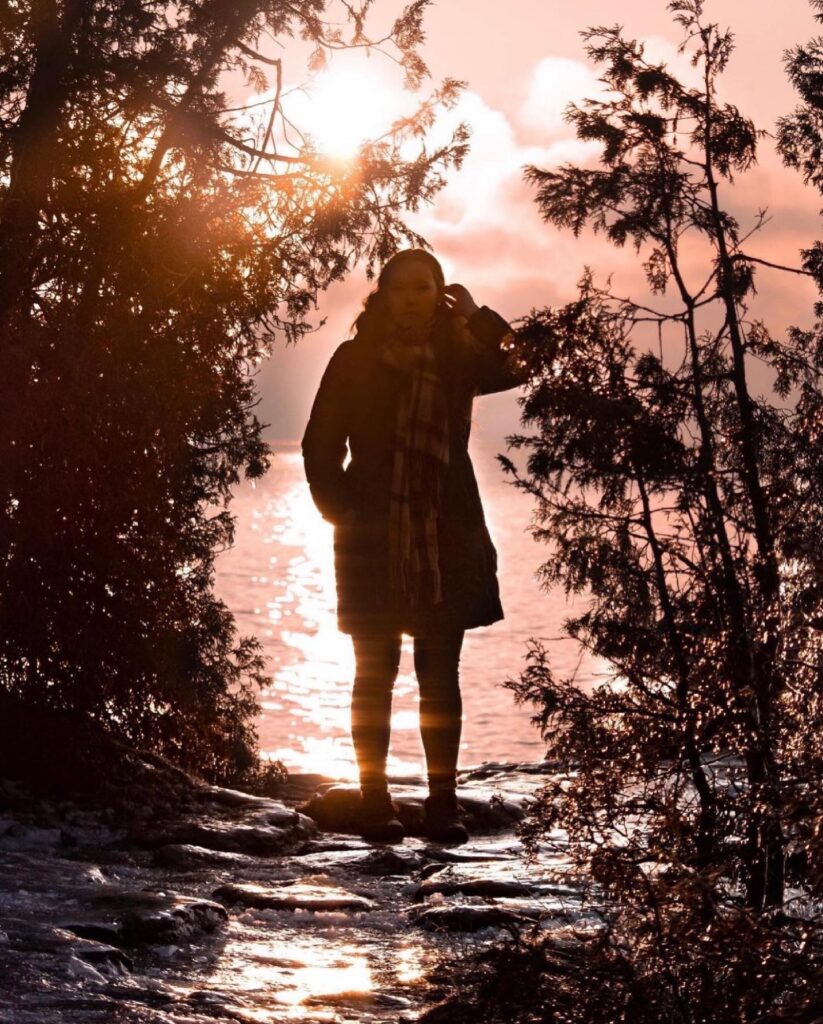
For example, in this photo from Door County, Wisconsin, we framed the subject (me) with the surrounding trees.
Leading Lines
Like framing, the use of leading lines leads the viewer’s eyes toward the subject.

Leading lines are simply objects in the photo that are linear in nature and lead straight to the photo’s subject.
Some great examples for travel photography may include roads, fences, hiking trails or beach shores.
Symmetry
A synonym for symmetry is balance, which a recurring theme in travel photography. Ideally, when a travel photo is symmetrical, you should be able to fold the printed picture into identical halves.
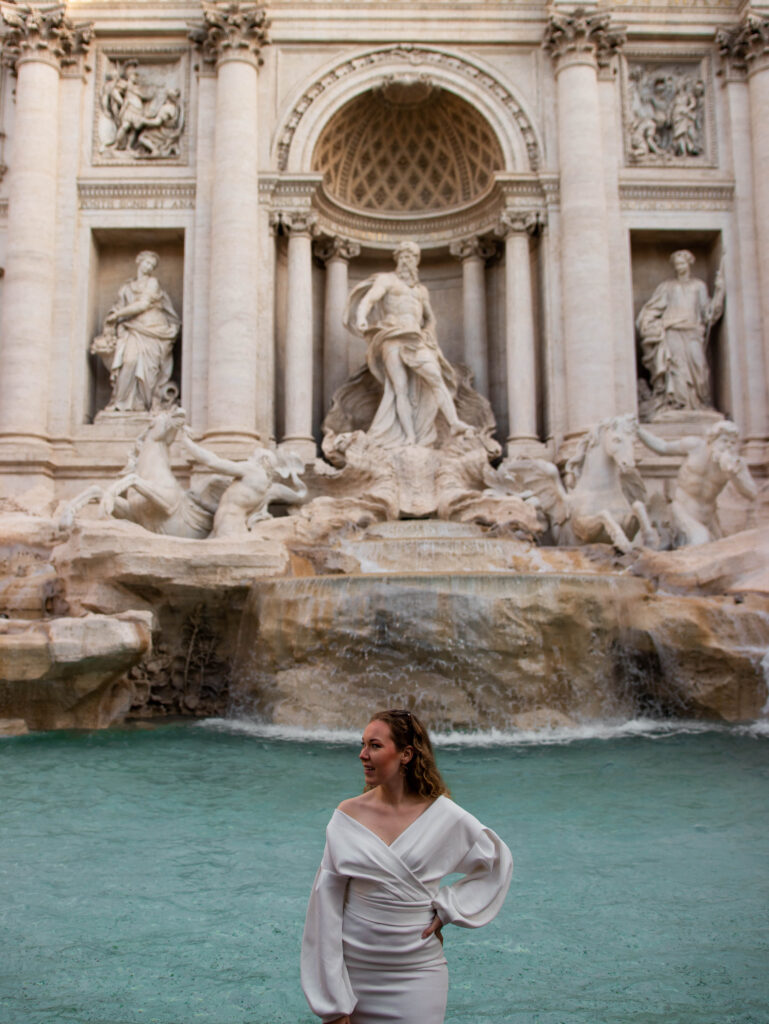
Don’t feel like you have to follow this rule (or any of these rules) verbatim, though. Travel photos will rarely be completely symmetrical given the artistic nature of every unique destination.
The main idea to grasp here is to make sure that the objects in each third of the photo at least somewhat balance each other out.
3. Have A Distinct Foreground, Middle Ground And Background
Now, you can also probably recall the difference between a photo’s foreground, middle ground and background from elementary-school art class, so I’ll skip the definition and get straight to the point.
Adding a foreground to your travel photos will give the photos more depth, making the photos more eye-catching, professional-looking and entertaining overall.
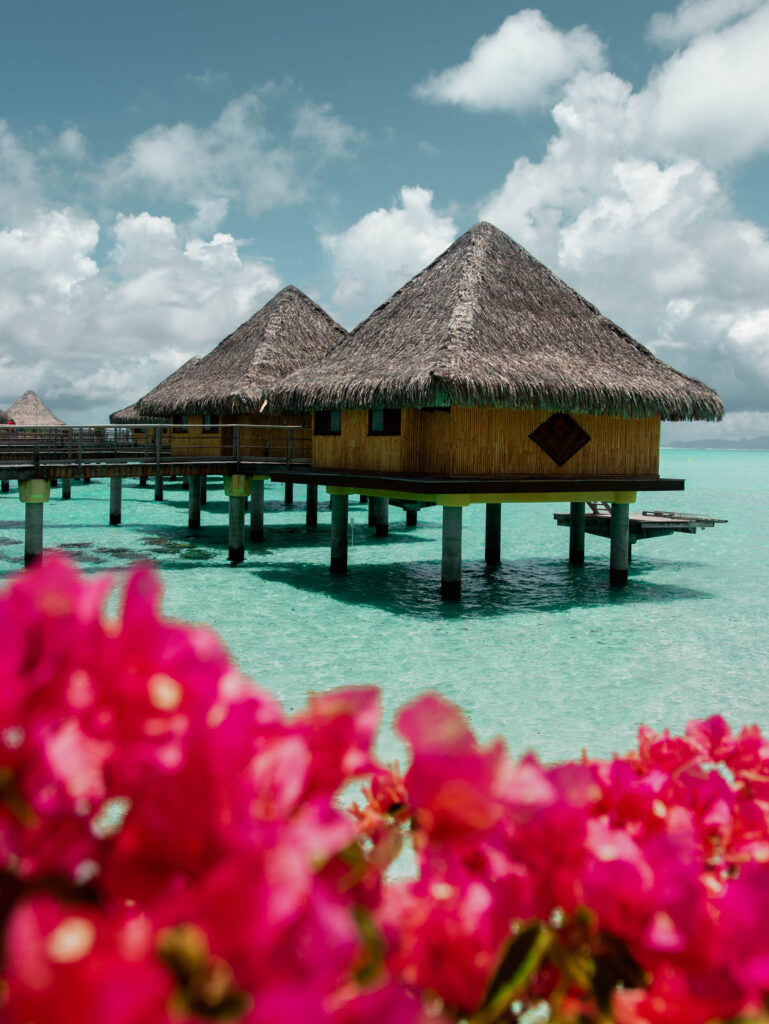
Try adding foreground before the subject of your travel photos with foliage, flowers, props or, simply, a lower angle.
4. Don’t Overuse Portrait Mode
Yes, portrait mode can be overused.
Contrary to popular belief, portrait mode does not make every single photo look more professional — at least not to professionals themselves.
The blurred background that portrait mode creates, also known as bokeh, is meant to draw all attention to the subject of the photo that is in focus.
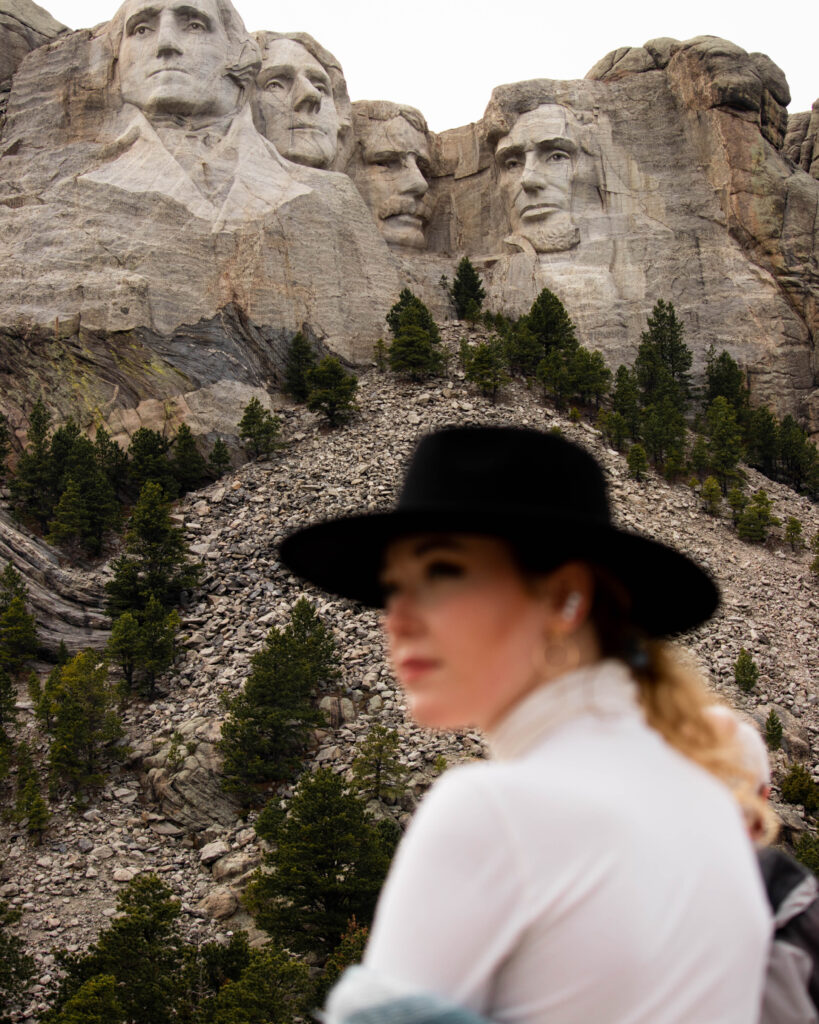
While bokeh is excellent for portrait photography (hence the name “portrait mode”), the purpose of travel photography is to draw attention to the landscapes.
Knowing when to blur and when not to blur is a key indicator of non-beginner photo skill-level. By blurring out the background of your travel photos, you’re keeping your viewers from actually seeing the travel destination.
If you choose to use portrait mode for your beginner travel photography, lower the F-stop to make the photo look more clean and professional.
5. Make The Photo About The Scenery, Not You
Speaking of drawing attention toward the travel part of your travel photos, it is important to make the photo more about the scenery and less about you.
No offense! You are beautiful and totally photogenic. But, when people are eager to see where you have been traveling, they want to see the destination, not just your face.
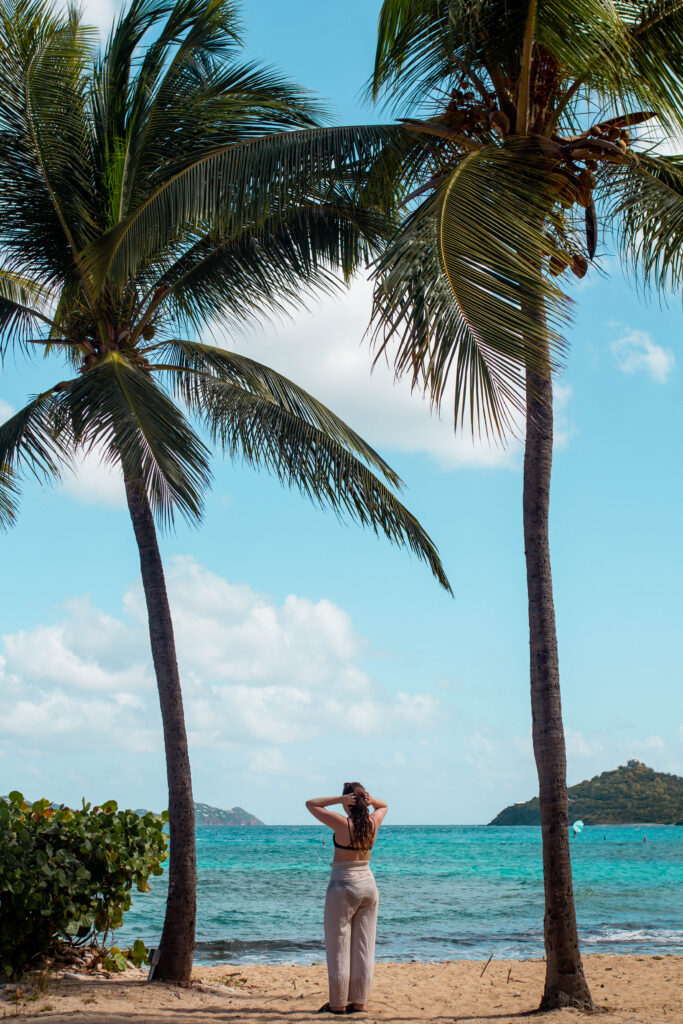
If you plan on posing in your travel photos, a good rule of thumb is to only take up a maximum of 10% of the photo so the other 90% can show off the destination.
6. Avoid Touristy Poses
Touristy poses are probably the most obvious way to determine whether or not a travel photo was taken by a beginner or a pro.
Avoid touristy poses like:
- Jumping.
- Awkwardly standing and smiling in front of a popular photo-op.
- Too many peace signs.
- Thumbs up.
- Dance, gymnastic, cheer or yoga poses.
As a former competitive dancer myself, I know that the temptation to hit a firebird in front of that beach sunset is excruciating. But, unless you’re a 200-hour yogi retreating in Bali, try to save the poses for the mat.
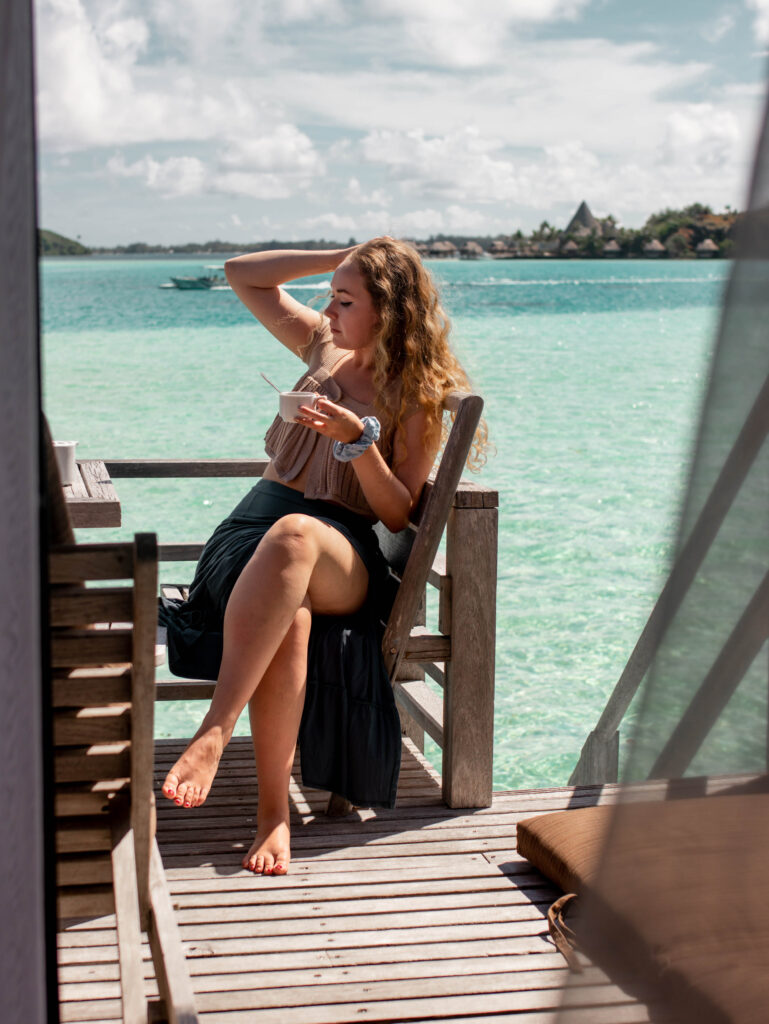
Instead, opt for more subtle poses like:
- Walking.
- Running.
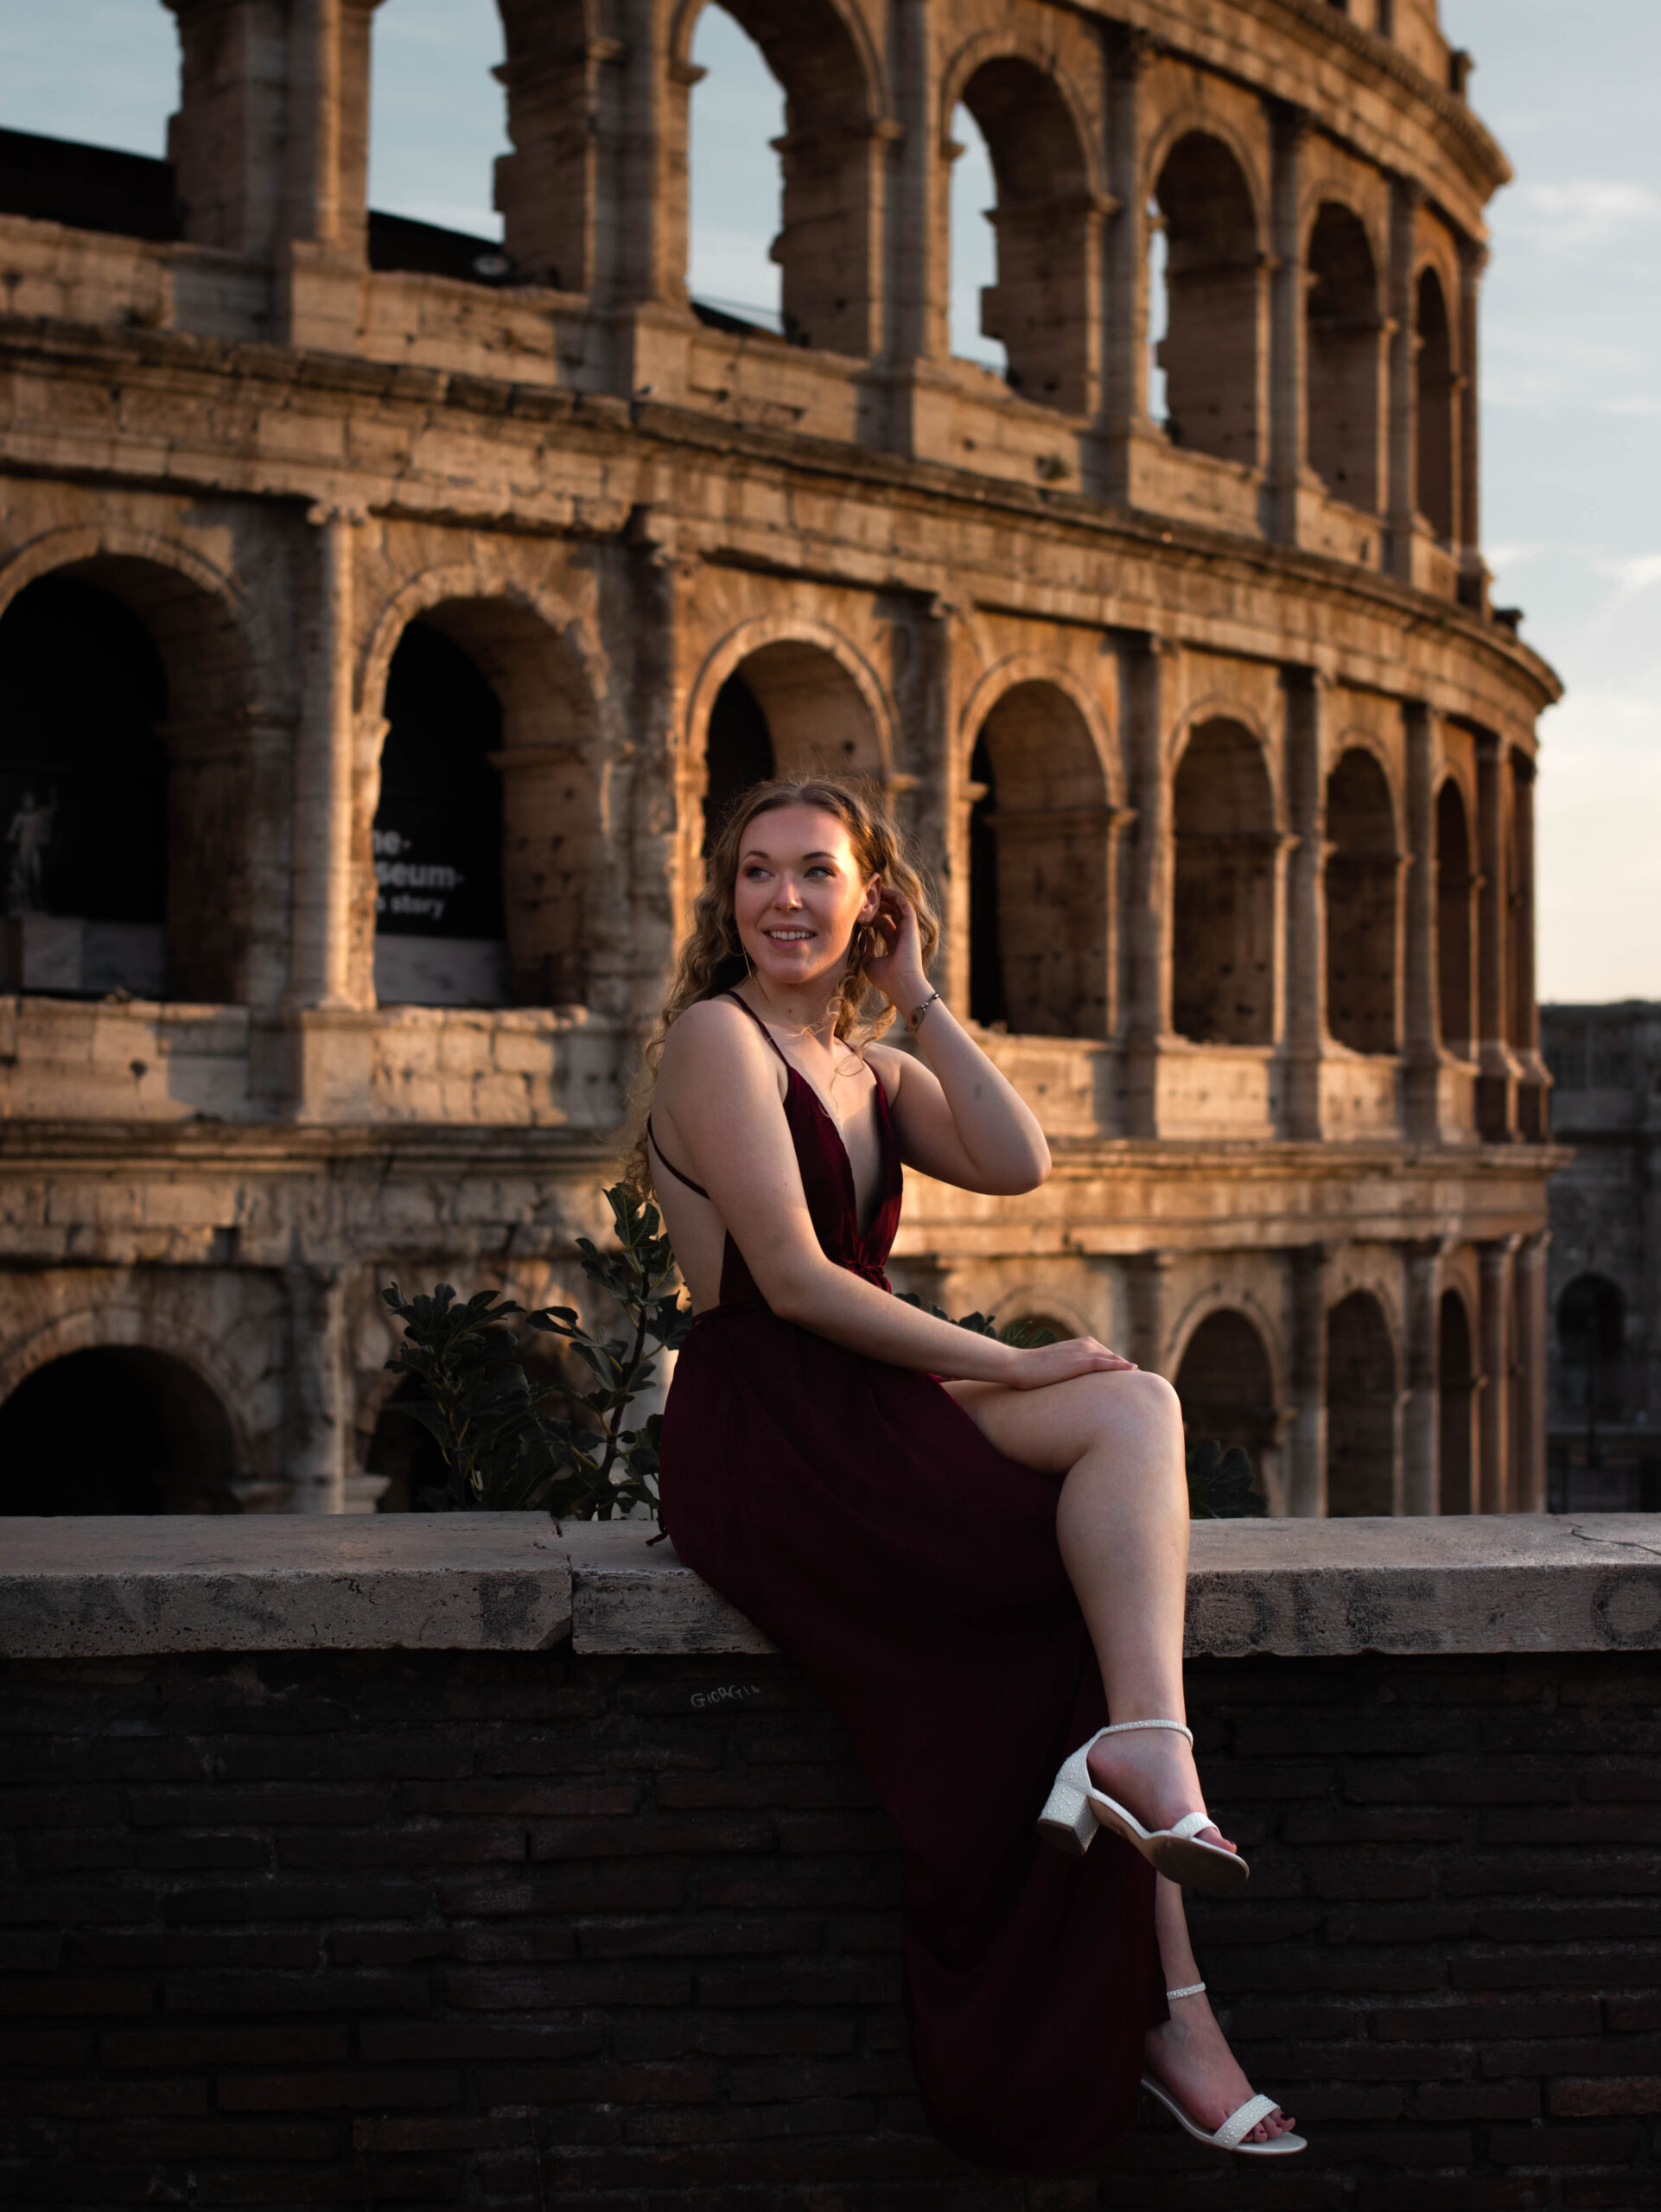
- Dramatically looking off into the distance (this one sounds cheesy, but it works).
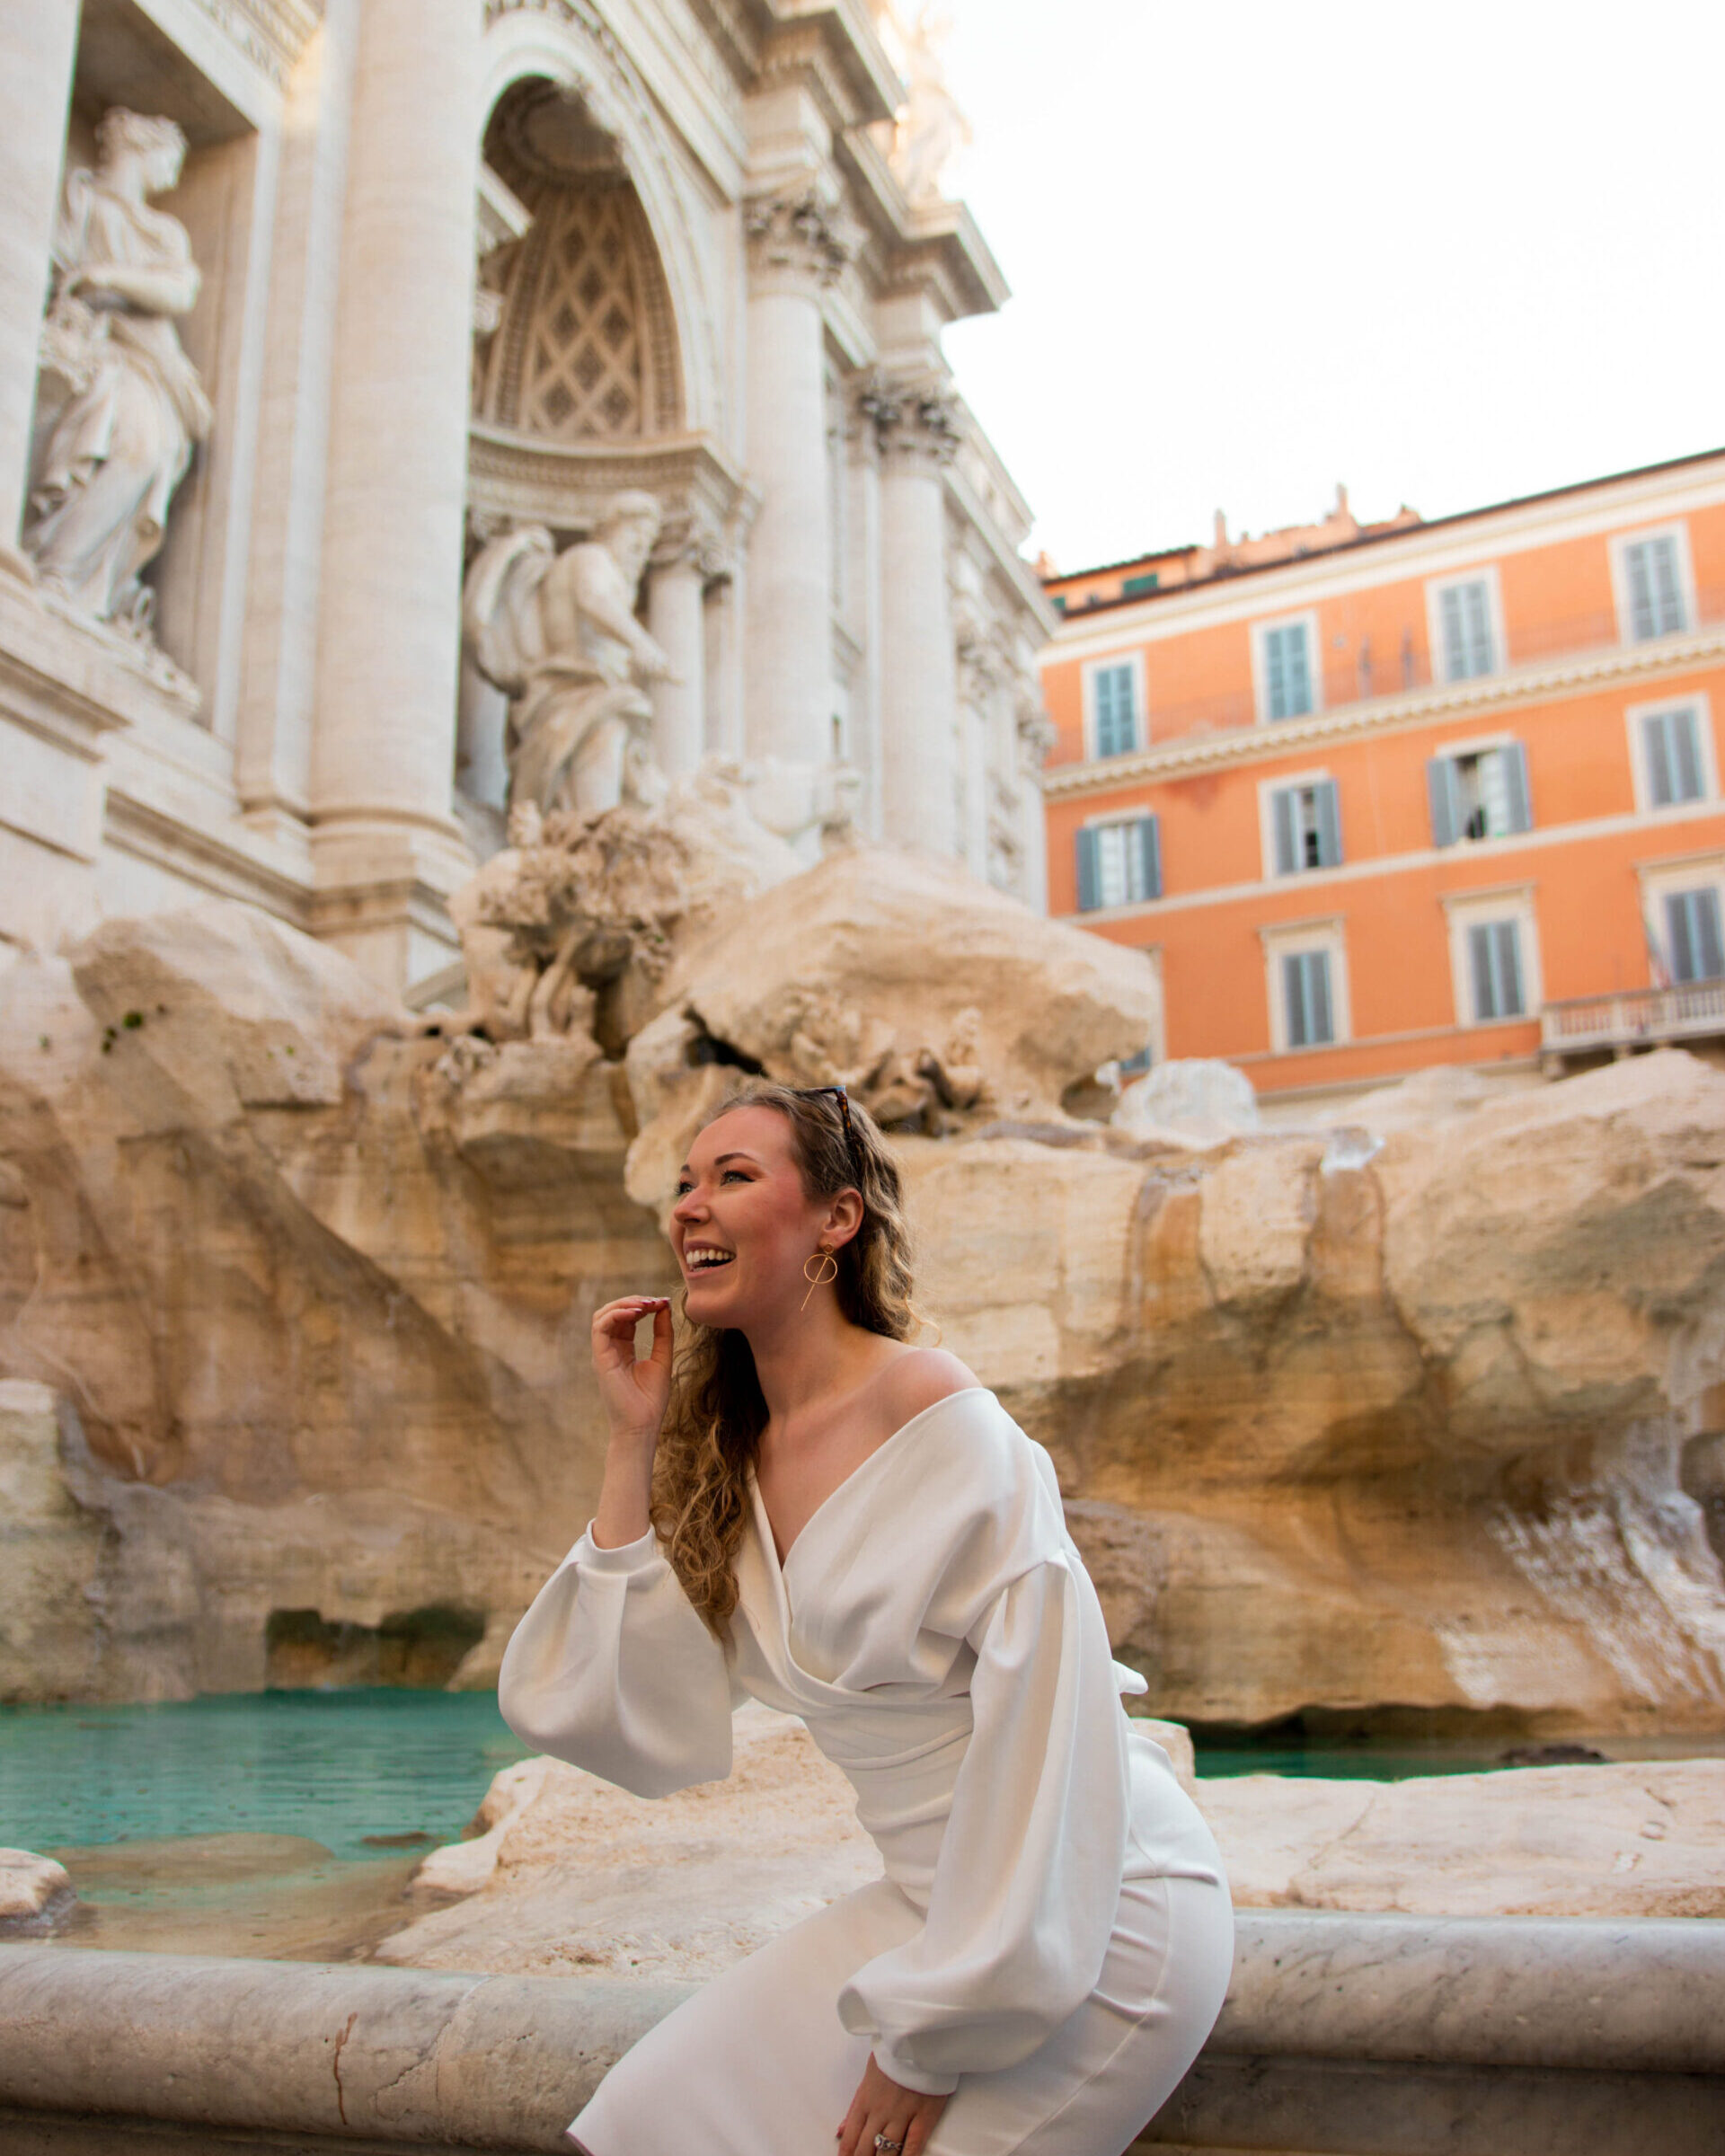
- Running your hands through your hair.
- Blocking the sun with your hand.
- Holding a prop (I’ll talk about this one later).
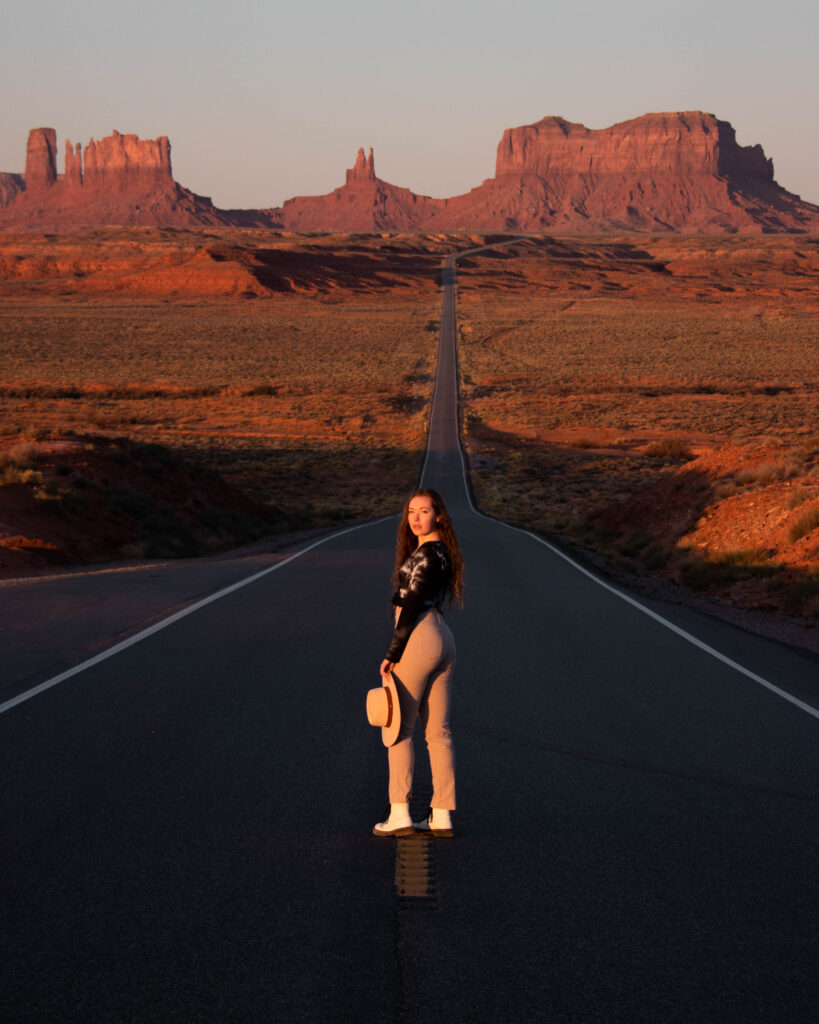
If you’d like even more travel photo pose inspiration, I have an entire guide to the best easy travel photo poses here.
7. Tell A Story Through Emotion
Show (don’t tell) the viewers how your travels are making you feel.
Are you on a secluded beach in Bora Bora? Show how relaxed and care-free you feel. Are you on a windy cliffside in Ireland? Show how serene and fearless you feel. Are you in Walt Disney World? Show how youthful and ecstatic you feel.

Match your facial expressions with the tone of your destination.
8. Add Motion
Now that you have added the facial emotion, add bodily motion too.
The motion may come from your pose (e.g. walking or running), or from other elements of the photo. For instance, the wind may be blowing your hair, waves may be crashing or birds may be flying.
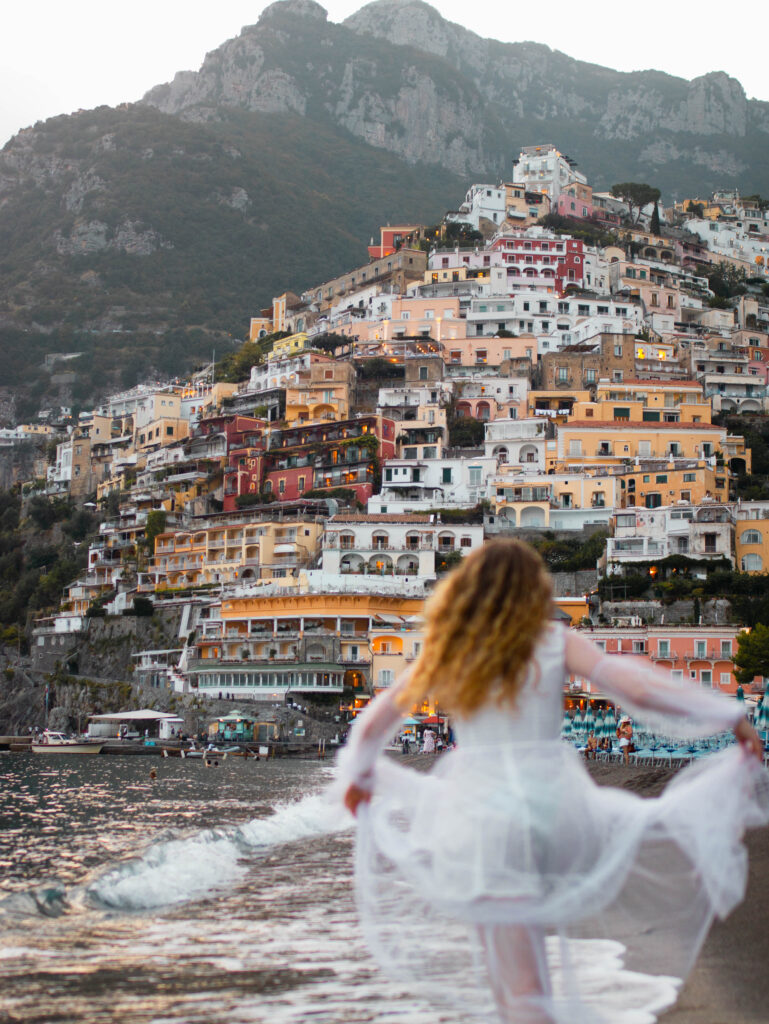
Regardless of where the motion comes from, motion will aid in the storytelling portion of your travel photography.
Here’s an example below. I could have simply stood and smiled in front of this waterfall like a tourist, but, instead, I decided to show my audience the difficulty of trudging through the dense forest, keeping the rainy wind from stealing my hat and climbing to the rewarded waterfall.
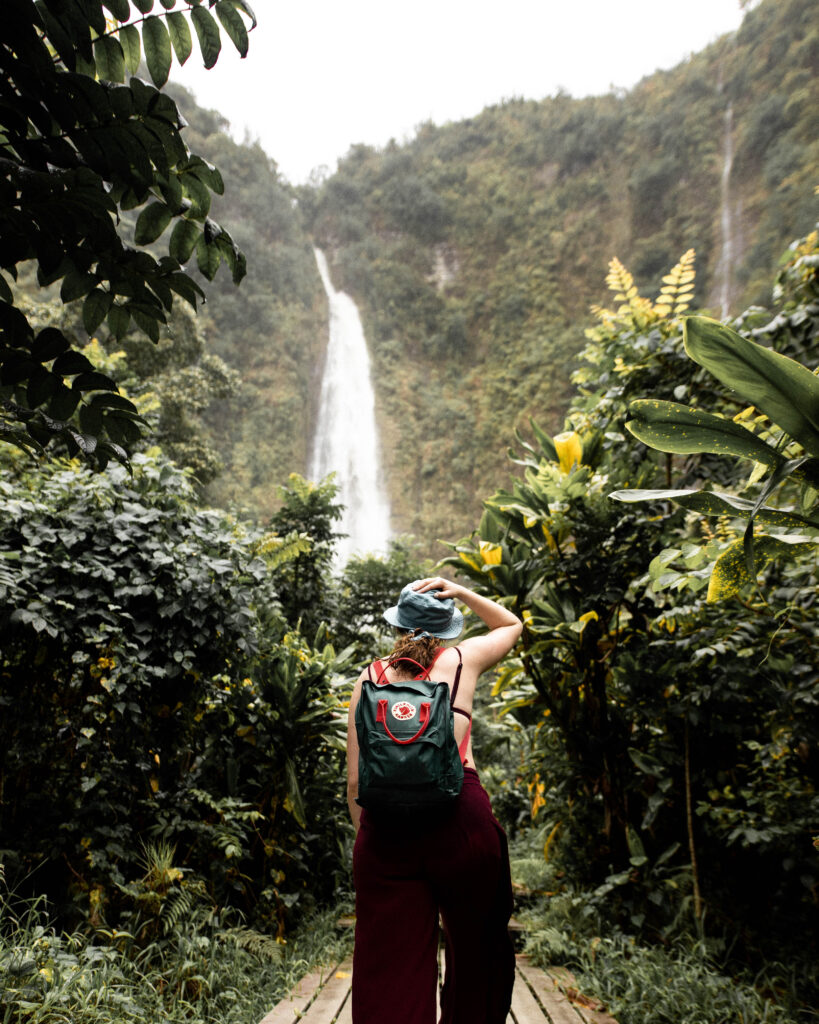
9. Use Props
I love a subtle prop. Not only do props add to the storytelling aspect, they also keep your hands busy when you don’t know how to pose.
Like your facial expressions, be sure to match your props to the specific destination. Here are a few ideas for props to use in travel photos:
- Hats (felt wide-brim hat, straw sunhat, beanie, baseball cap, etc.).
- Jackets/coats (held or thrown over the shoulder).
- Blankets (to cozy up in the snow).
- Beverages (perhaps in a coconut cup on the beach).
- Food (Instagrammable picnic, anyone?).
- Books or magazines.
- A journal.
- A flower crown (like this crown from Amazon).
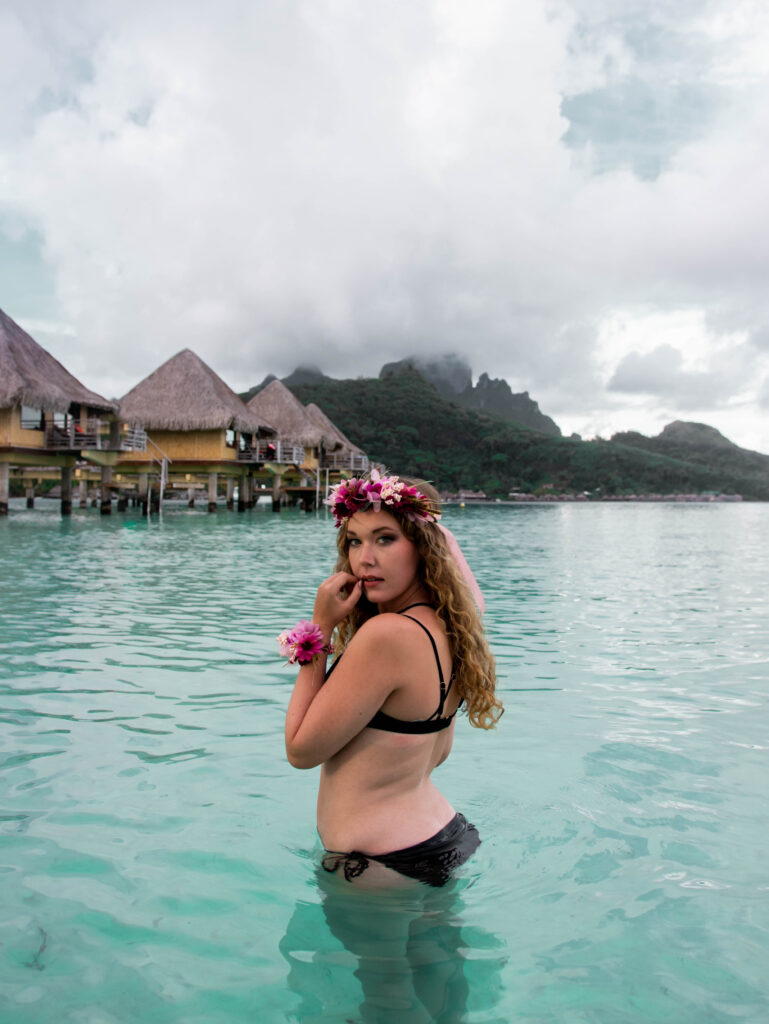
10. Don’t Crop Out Your Hands Or Feet (Travel Photography Tips For Beginners)
This tip sounds obvious, but it can actually be very tricky for beginners, especially with social media’s strict 4:5 image cropping dimensions.
A very general rule is to avoid cropping your hands out of a waist-up photo. Only crop your feet out if you’re cropping out your knees too.
11. Don’t Be Afraid Of ‘Bad’ Weather (Travel Photography Tips For Beginners)
Travel photography is not always rainbows and sunshine. Sometimes it is, but not always.
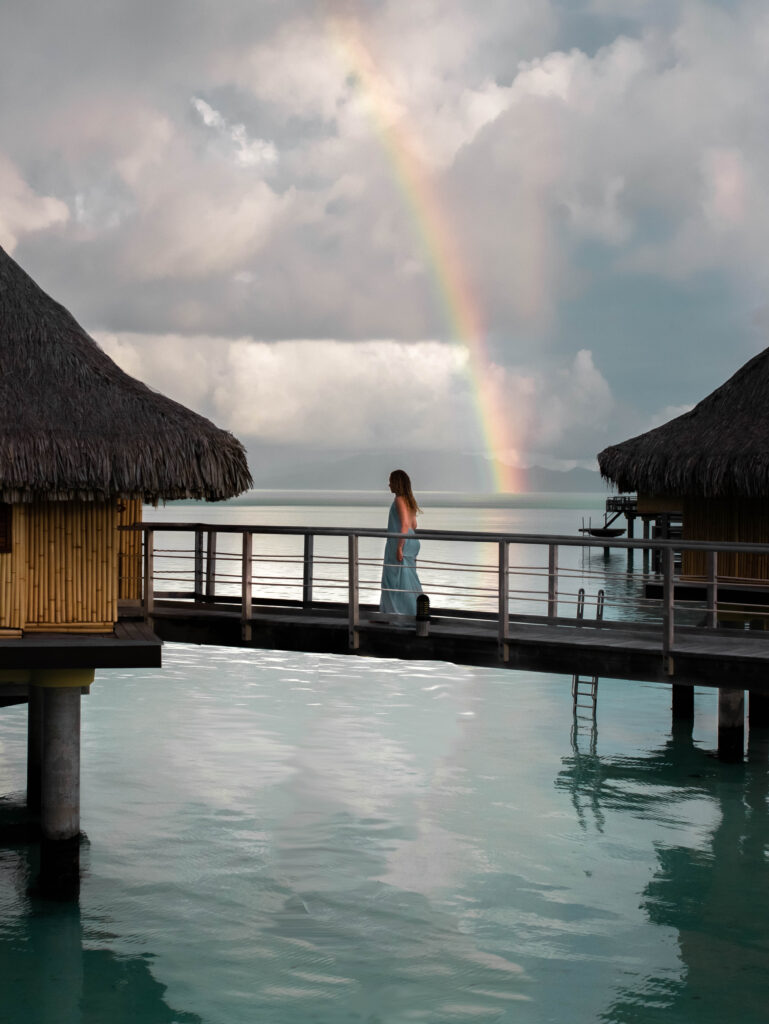
Don’t be discouraged by cloudy, rainy or foggy weather. Often times, the so-called “bad” weather will actually give your photos a more mystical, inspiring haze than the sun ever could. Plus, clouds will take away unwanted harsh shadows.
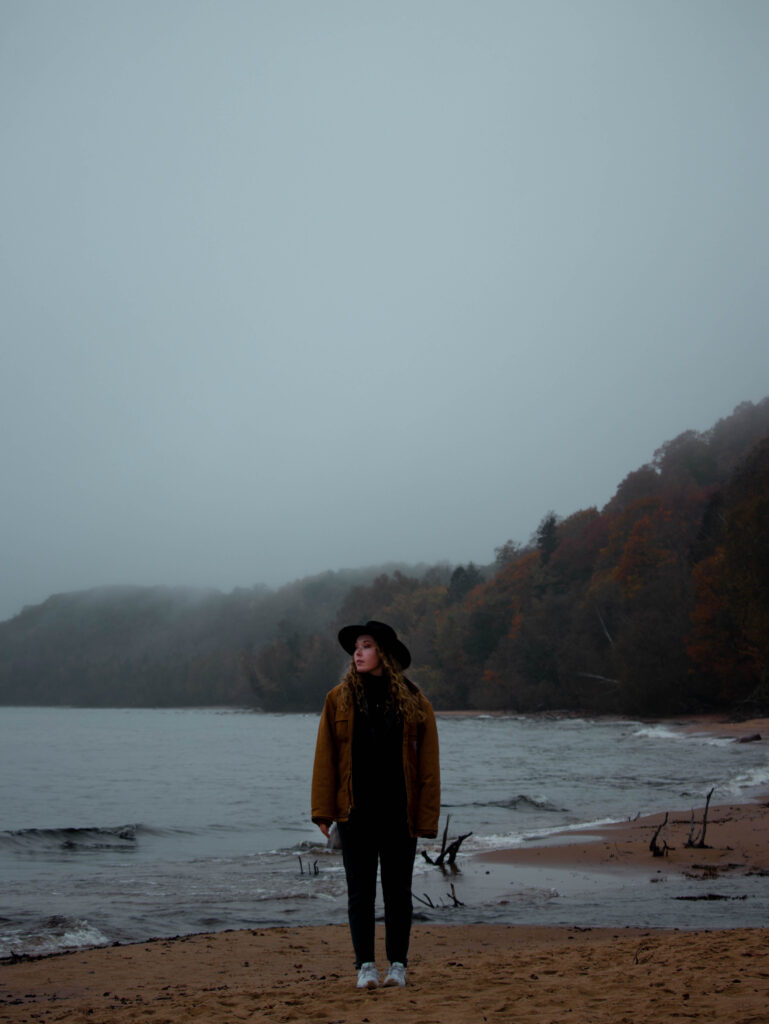
I think the majority of professional travel photographers would agree that some of their best travel photos were taken in less-than-perfect weather conditions.
12. Avoid Crowds (Travel Photography Tips For Beginners)
Unfortunately, avoiding crowds also means waking up before sunrise and traveling during off-seasons. The inconveniences prove very worthy, though.
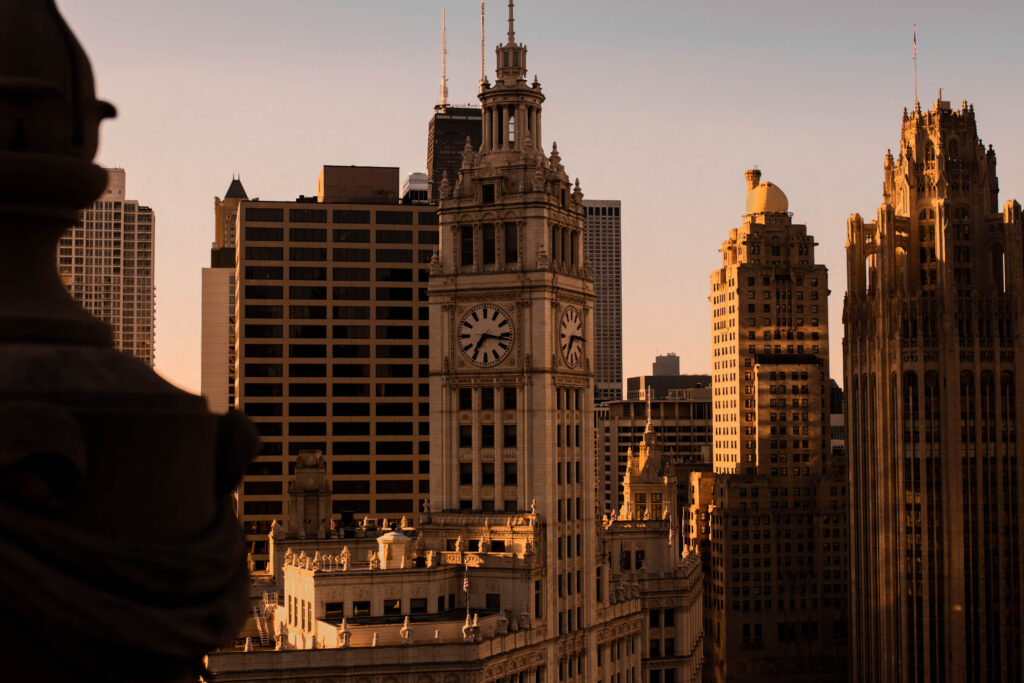
No crowds means no unsolicited photobombs or tourists in the backgrounds distracting your viewers from the admirable destination at hand.
If there is a crowd where you’re photographing, find a unique angle that will hide the other people.
13. Show Popular Places From A New Perspective
You may be in the habit of checking Instagram geotags and hashtags for popular travel photo-ops before you venture off on vacations.
While I do actually recommend doing this to get a taste of what types of photos you would like to recreate, I also encourage you to put your own spin on the tourist photos that your predecessors have already taken over and over.
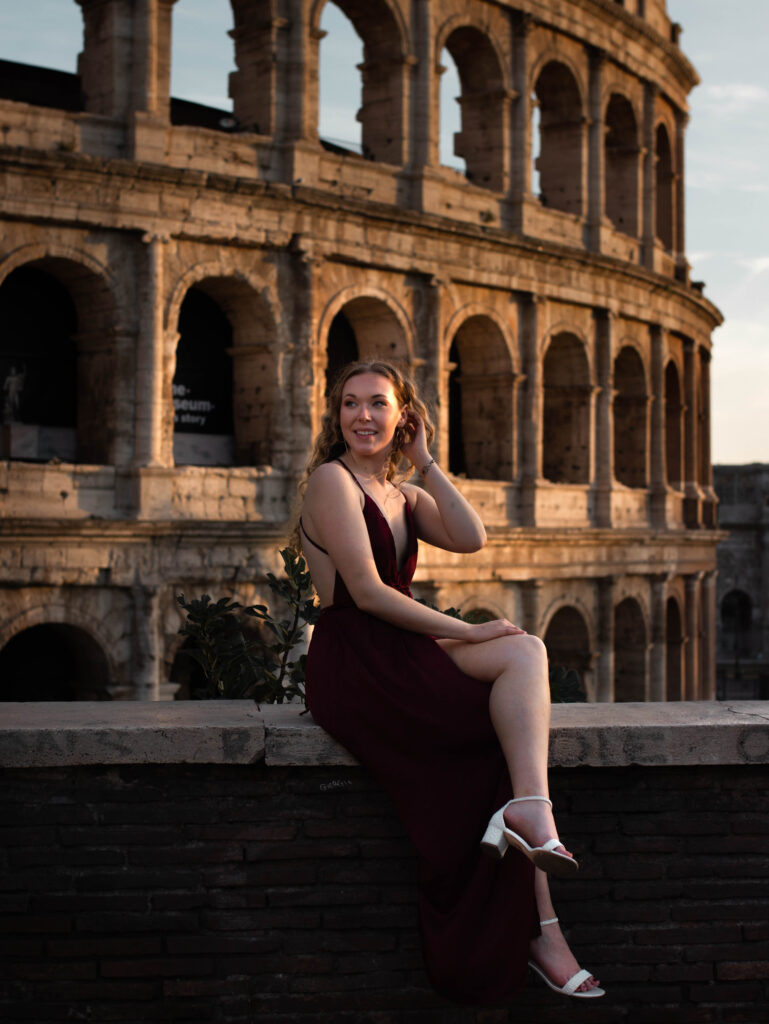
When you arrive at touristy places, try to find a new, innovative way of capturing them. Hike a little further, get down a little lower or climb up a little higher to give your viewers a fresh look.
14. Use Professional Editing Software And Techniques (Travel Photography Tips For Beginners)
Before explaining editing softwares, it is important to note that you should only edit to enhance the colors and lighting of the photo, NOT to distort them.
Beginner travel photography editing do’s:
- Alter hues as long as they are still realistic.
- Adjust lighting only as needed.
- Adjust saturation and contrast as you wish, as long as the photo still looks realistic.
- Straighten the photo’s crop, looking at the horizon for guidance.
- Photoshop miscellaneous objects and people out.
Beginner travel photography editing don’ts:
- Over saturate the colors until they look grainy.
- Under saturate the colors until they look gray.
- Add too much detail or texture.
- Change the exposure significantly (if any).
- Edit your body (you look good)!
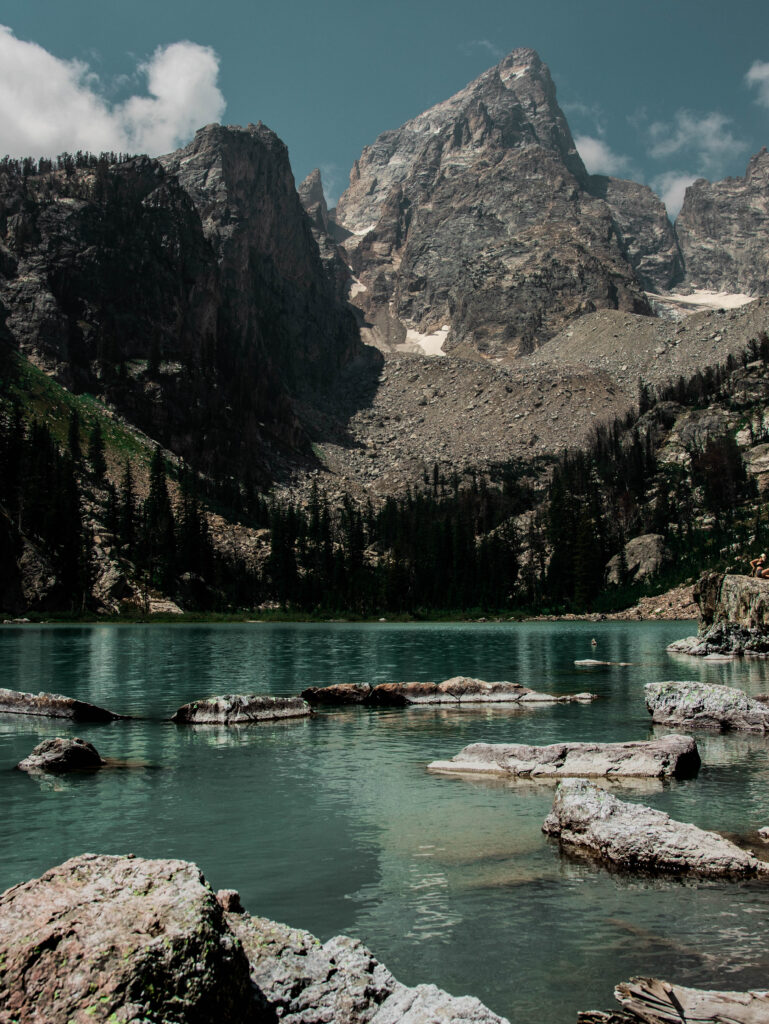
To make your edited travel photos look professional, you will definitely need to invest in Adobe Lightroom and Adobe Photoshop.
Adobe Lightroom and Photoshop are industry standard editing softwares for all types of photography, travel photography included.
You can subscribe to the softwares separately if you only wish to use Lightroom, or you can subscribe to the Adobe Photography Plan (recommended) for a similar annual price.
Bonus travel photography tips for beginners: Lightroom is the secret to your favorite travel Instagrammer’s aesthetic matching feed. You can use Lightroom Presets (your own or purchased through bloggers, photographers, Etsy, etc.) to achieve a stunning profile grid.
15. Invest In Professional Gear (Travel Photography Tips For Beginners)
Investing in professional camera gear can feel like a huge, expensive step for a photographer who is just starting off.
However, you will eventually need to take the financial plunge someday if you want to get serious about your travel photography.
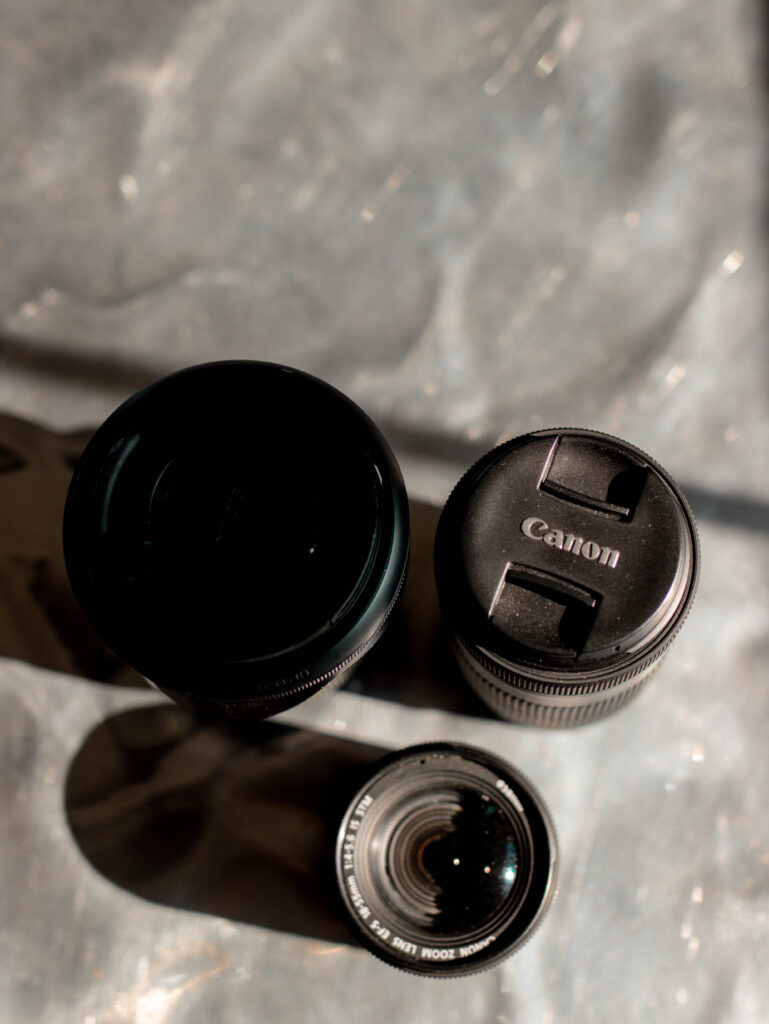
I personally use and love my Canon 5D Mark IV camera body, and I use a variety of Canon travel lenses on a regular basis.
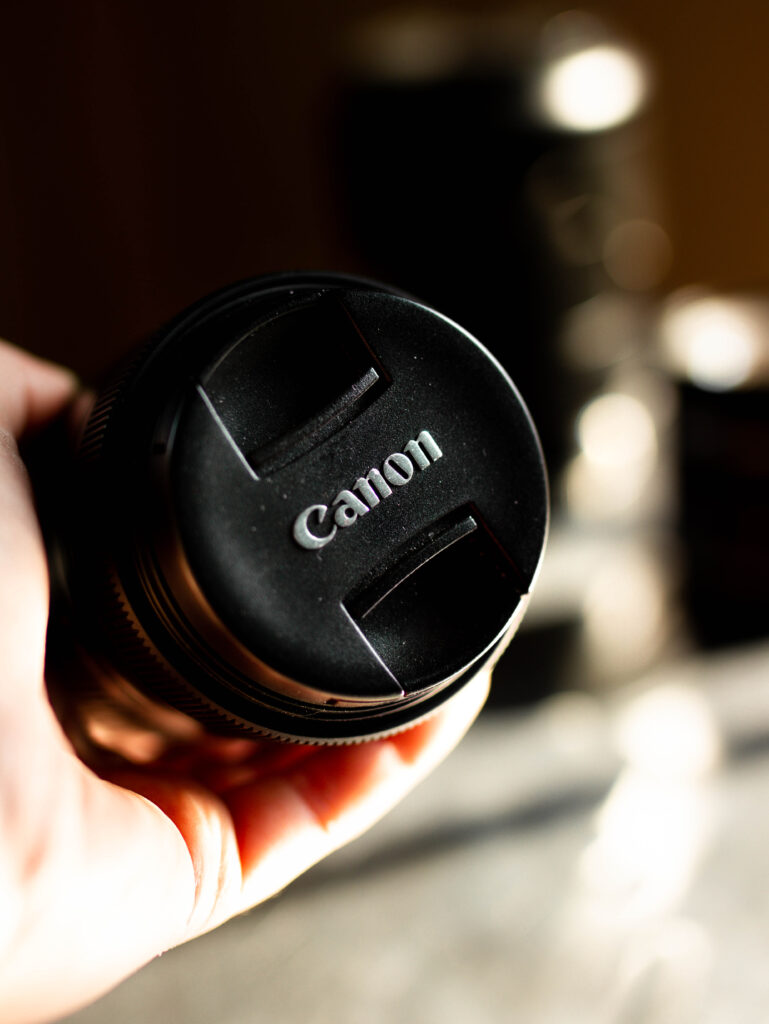
This camera is not cheap, though. So, for years (the first four years of my travel photography journey, to be exact), I used a budget-friendly Canon Rebel series camera body like this one.
For more cheap travel camera equipment, I’ve listed all of the best budget-friendly camera gear here. If you’re just not quite at that point financially right now, don’t be discouraged. The best camera is the one you own.
For more travel photography tips and inspiration, follow me on Instagram where I post daily. Feel free to send me a DM and say hello as well!
More Travel Photography Tips For Beginners
Cheap Travel Camera Gear For Better Photos
Best Canon Travel Lenses To Buy (W/ Examples)
25 Easy Poses For Travel Photos (With Examples)
How Travel Bloggers Make Money
Save These Travel Photography Tips For Beginners
Save these travel photography tips for beginners by sharing with others.



![Happy Earth Day & National Park Week! 🌲🌿⛰️🐻
[SAVE & SHARE]
Did you know the USA has some of the most otherworldly, diverse landscapes? Get out and explore them!!
I was once the girl who would say, “I’d rather go to Europe.” But, now, I can’t wait to get back in the national parks.
Here are 10 USA national parks that make you feel like you’re on another planet 🪐:
1. Arches National Park (Utah)
2. Badlands National Park (South Dakota)
3. Bryce Canyon National Park (Utah)
4. National Park (Utah)
5. Capitol Reef National Park (Utah)
6. Grand Canyon National Park (Arizona)
7. Great Sand Dunes National Park (Colorado)
8. Haleakala National Park (Hawaii)
9. White Sands National Park (New Mexico)
10. Zion National Park (Utah)
Have you checked any of these national parks off your bucket list yet?
#usatravel #usnationalparks #usanationalparks #nationalparkservice #nationalparkweek #earthday2024 #traveldestinations #placestosee](https://indigosahara.com/wp-content/plugins/instagram-feed/img/placeholder.png)
[…] See More: 15 Easy Tips To Elevate Your Travel Photography […]