Packing carry-on only doesn’t have to be difficult. As a frequent standby flyer, I’ve traveled carry-on only for decades, so it’s safe to say I’ve mastered the art. If you know me, I don’t gatekeep good packing tips! Here are 17 carry on packing tips you’ve never heard before.
Disclaimer: This post contains affiliate links. If a product is purchased using one of the following links, I may earn a small commission from the brand at no cost to you.
Choose The Right Carry On Luggage
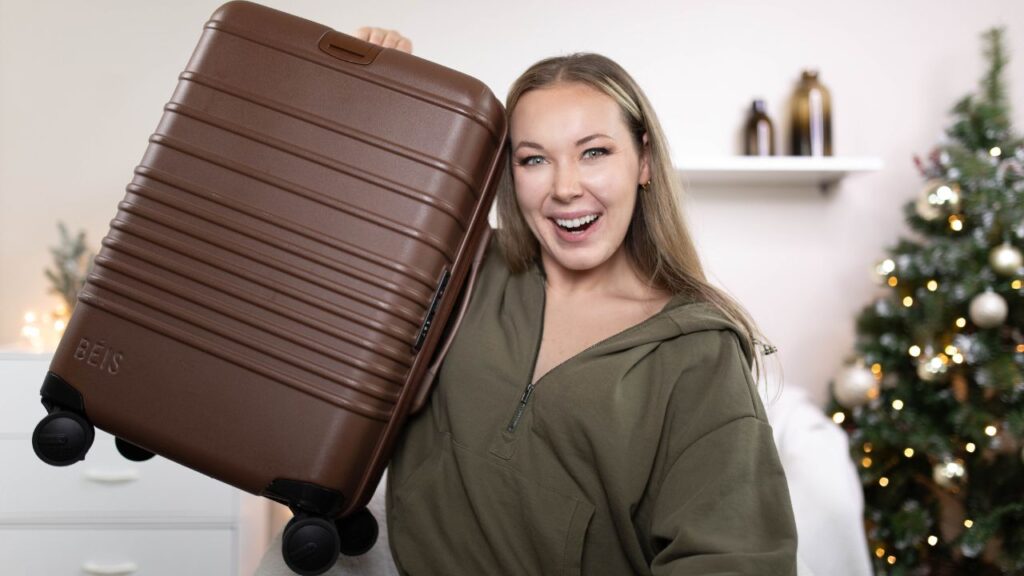
The first carry-on packing tip that shouldn’t be dismissed is choosing the right carry-on luggage. Carry-ons come in all shapes and sizes, some of which pack a lot more than others. If you’re like me and struggle to pack light yet still want to pack carry-on only, then you need to invest in a suitcase that maximizes the carry-on size regulations. The legal carry-on dimensions in the USA are 22″ x 14″ x 9″. This means, you should own a carry-on that completely fills those dimensions.
I love my Beis carry-on roller, which technically measures at 22.8″ x 15.7″ x 9.8″ (larger than the regulated carry-on size). However, I have personally never had any issues carrying on my Beis carry-on roller. You can read my full Beis luggage review here. Alternatively, my entire pilot family swears that soft-shell rolling duffles, like this budget-friendly one from Rockland, can fit more than a standard cubic shape. I faithfully used one of these Rockland duffles until I converted to Beis a couple years ago.
Bring A Full-Size Backpack As Your Personal Item
In addition to the correct suitcase, you can use a full-size backpack as your personal item. Although most people think of purses, small brief cases or crossbody bags as personal items, you can actually use a large backpack as your personal item. As long as the bag will fit underneath the airplane seat in front of you, you can use it in addition to your suitcase. And, trust me, if I manage to jam my 40-pound camera backpack under the seat in front of me, your overstuffed backpack will probably fit too! Need a specific backpack recommendation other than a camera backpack? I love my Beis backpack because it has interior compression straps that enable you to pack the backpack like a suitcase.
Be Prepared To Plane-Side Check If Necessary
Now, here’s a caveat. When you’re flying on small regional airlines with large roller carry-on luggage, you have to be prepared to plane-side check your suitcase if the gate agent asks. This is because the small regional airplanes are often extremely limited on overhead compartment space for carry-ons. Sometimes, the overhead compartment is so small that no suitcases fit at all. If you are asked to plane-side check your luggage, at no cost to you, the gate agent will likely tag your rolling bag and ask you to leave your bag at the bottom of the jet bridge as you board. After the flight, you’ll either find your tagged rolling bag at the bottom of the jet bridge or at baggage claim.
Match Your Outfits Before You Pack
My favorite way to prevent overpacking is to match all of my outfits per day of my trip before I pack. Otherwise, I wind up packing too many “just in case” tops and “I’ll decide what to wear when I get there” bottoms. Instead, I write out every date of our trip on paper with a quick note of what we’re doing each day of the trip. That way, I can quickly visualize what type of outfits I need to wear which days. Then, I proceed to physically try on those outfits to ensure I like their look and fit before I pack them in my luggage.
Roll Thin Clothes, Fold Thick Clothes
You’ve probably heard of the “roll, don’t fold” rule to packing. But, I don’t fully agree with this rule. The “roll, don’t fold” rule suggests that rolling all of your clothes, instead of folding, will allow you to fit more in your suitcase. While this seems to be true for most clothing articles, such as T-shirts and pants, I have found that rolling thick clothing articles, such as thick sweaters and sweatshirts, takes up more space than folding. So, I recommend a combination: roll thin clothes, fold thick clothes.
Don’t Use Packing Cubes To Pack More
Furthermore, you’ve probably heard of using compression packing cubes among other common carry-on packing tips to maximize your carry-on space. While I love packing cubes and agree that you should use them, I personally find compression packing cubes unhelpful in terms of condensing my clothes because, as a chronic over-packer, I stuff packing cubes full to the brim. This renders the compression zippers virtually useless. However, that being said, I still use packing cubes on every single trip, just with a different goal in mind. Instead of using packing cubes to pack more, I use packing cubes to stay organized when I’m on my trip. For example, I pack my pre-matched outfits in one cube, socks and underwear in another. Once I’m on my trip, I keep clean outfits in one cube, dirty in another. These are my favorite packing cubes as of lately.
Use A Hanging Toiletry Bag
Next, if you’re like me, you don’t travel light when it comes to toiletries either. Between skincare, dental care, makeup and shower products, toiletries are sneaky and fill your carry-on. Therefore, for longer trips where I know I’ll need a lot of toiletries, I use a hanging toiletry bag instead of a standard dopp kit. Why? In addition to the convenience of hanging your toiletries anywhere in your hotel room (shower curtain rod, towel hook, closet rod, mirror, etc.), hanging toiletry bags fold in a variety of positions, making them easy to tuck or lay flat in your suitcase as needed. I have the Fengdong hanging toiletry bag. Although, it has been out of stock for a while. I recommend the Bagsmart hanging toiletry bag too.
Don’t Have Many Toiletries? Use A Dopp Kit
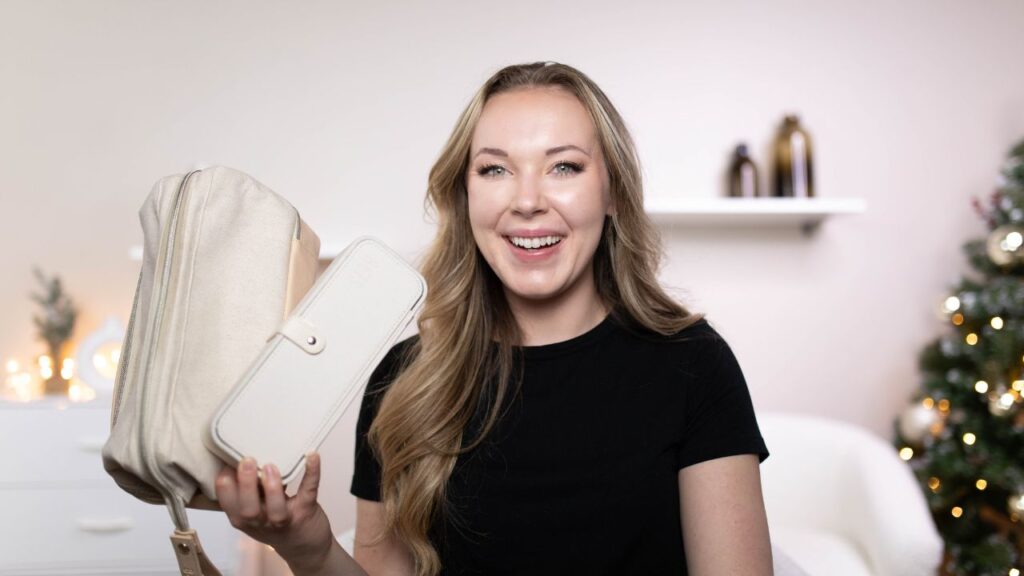
If you don’t have a ton of toiletries to pack, I recommend using a dopp kit instead of a hanging toiletry bag. This is because dopp kits themselves are usually smaller than hanging toiletry bags, taking up less carry-on space. For this reason, for shorter trips, I usually use my Beis dopp kit. I love that the Beis dopp kit fits my essentials, has a designated toothbrush pocket, and offers a bottom compartment where I keep my makeup and makeup brushes separate from my liquid toiletries.
Fill Your Own Mini Liquid Containers
Mini TSA-approved travel-size toiletries are tempting. However, usually, you don’t need 3.4 whole ounces of hairspray and 3.4 whole ounces of hair gel for just one trip. I have found buying travel-size toiletries often takes up an unnecessary amount of my precious one quart baggie of liquid allowance. If you won’t need the whole travel-size, use your at-home product to fill your own one-ounce or smaller travel containers. Plus, mini travel-size versions of toiletries are often more expensive per ounce. So, you’ll save money in the long-run too. I use these glass cosmetic containers from Amazon and love them because I can stick them in the dishwasher post-trip.
Turn Carry-On Liquids Into Solids
On the same note, you may be surprised to learn that you can actually turn some of your liquids into solids to save additional carry-on liquid space. For instance, if you’re traveling with a watery skincare product, such as toner, you can presoak cotton pads with the product and seal the cotton pads in a plastic baggie to eliminate an entire product bottle from your liquid allowance.
Bring Bar Forms Of Liquid Toiletries
Additionally, many toiletries come in bar form. These days, you can buy solid lotion bars, sunscreen bars, shampoo bars, conditioner bars and even shaving cream bars. Bonus tip: you can cut the bars with a knife to save space in your toiletry bag. I also love packing these makeup remover cloths instead of liquid or single-use makeup remover. Basically, consider bringing a solid toiletry alternative to eliminate even more liquids from your carry-on.
Keep Liquids Accessible In Your Personal Item
Speaking of liquids, it always makes me so second-hand stressed when I see other travelers scrambling to dig for their liquids at airport security. That’s why I recommend you always have your liquids baggie accessible on top of your personal item bag to make security go smoother for yourself, the TSA agents and the travelers around you. That way, you can quickly unzip the top of your personal item to remove your liquids as seamless as possible. Remember, in the USA, the total liquid allowance for air travel is limited to a single one-quart clear bag.
Keep ID And Travel Documentation In Personal Item
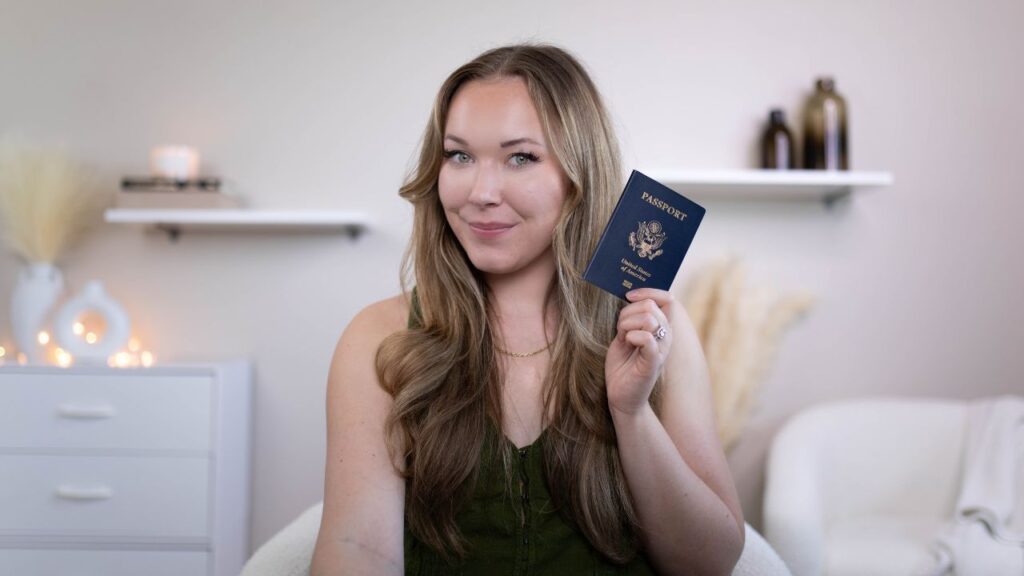
Similarly, always keep your ID and necessary travel documentation readily available while walking through the airport. You will need to show your ID/passport and boarding pass multiple times throughout the airport, so having them on hand will make your airport experience a lot easier. You can read my full step-by-step guide to easy airport travel here. I personally keep my ID and documents in my belt bag (which I shove in my larger personal item right before boarding) on the front of my body on travel days. Some people prefer to keep their important travel documents in an easily accessible folder, which may be even better if you’re traveling somewhere with strict customs policies that require proof of itinerary, vaccinations, etc.
Wear Bulky Shoes Through The Airport
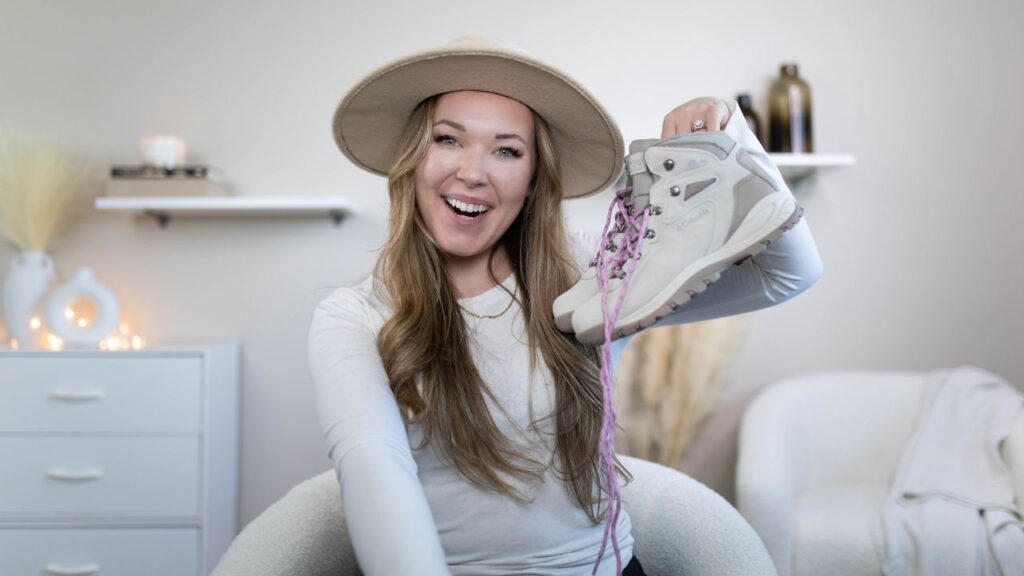
It should go without saying that shoes take up a lot of luggage space, regardless of whether you’re checking a bag or packing a carry-on. Thus, wearing your bulkiest shoes through the airport is one of the best carry-on packing tips so you don’t have to find luggage space to pack them. Usually, this means wearing your tennis shoes or hiking boots through the airport. Even though bulky shoes aren’t the easiest to remove for airport security, it’s worth the small hassle to save on suitcase space.
Wear Your Jacket Through The Airport
Likewise, another common suitcase space sucker is your coat or jacket. If you’re traveling somewhere that solicits a heavy jacket, wear your jacket through the airport. Not only will you save a significant amount of space in your carry-on, but you’re also guaranteed to stay warm on inevitably chilly flights. I have to admit, though, this carry-on packing tip has led me to sweat between tight connections a couple times in the past. Nevertheless, I always leave my jacket as the last thing to pack, so that I can pack it if I have room in my carry-on or carry/wear it through the airport if I don’t.
Pack Old Clothes And Shoes To Donate
Next, pack old clothes and shoes that are ready to donate for your trip. If you’re planning on shopping on your trip, it might be in your best interest to pack old clothes that you can either donate or throw away at your destination. Doing this, you’ll have plenty of room for your new purchases in your carry-on on the way home. I love this carry-on packing tip for shoes especially, as I usually like to pack new cute clothes for my trips. Packing old tennis shoes, on the other hand, is an easy way to make more suitcase space available at the end of your trip. Off the top of my head, I’ve definitely thrown away at least two pairs of old, nasty tennis shoes at the end of my trips before.
Use Vacuum Seal Bags If Necessary
Finally, when in doubt, take advantage of vacuum seal bags to completely condense your clothing and maximize your carry-on luggage space. While I’ve never had to resort to vacuum seal bags with these other carry-on packing tips myself, I know many travelers swear by this tip. If you want to test vacuum seal bags for yourself, this travel vacuum seal bag set comes with a travel-friendly USB pump to reseal your clothes upon home-bound departure. Keep in mind, if you’re bouncing from hotel to hotel at your destination, you’ll have to re-vacuum seal more than once!
More Carry On Packing Tips
15 Mini Travel Essentials That Make A Massive Difference
19 Product Beis Travel Review: Is Beis Really Worth It?
61 Genius Amazon Travel Essentials You Need
Save These Carry On Packing Tips
Save these carry on packing tips for later by sharing to your socials.


Leave a Reply