Desperate to know how to pack lighter for any trip no matter how long you’ll be gone? As a past chronic overpacker, I’ve learned exactly why travelers fail to pack light and how to fix it so that you can pack carry-on only for every trip.
Disclaimer: This post contains affiliate links. If a product is purchased using one of the following links, I may earn a small commission from the brand at no cost to you.
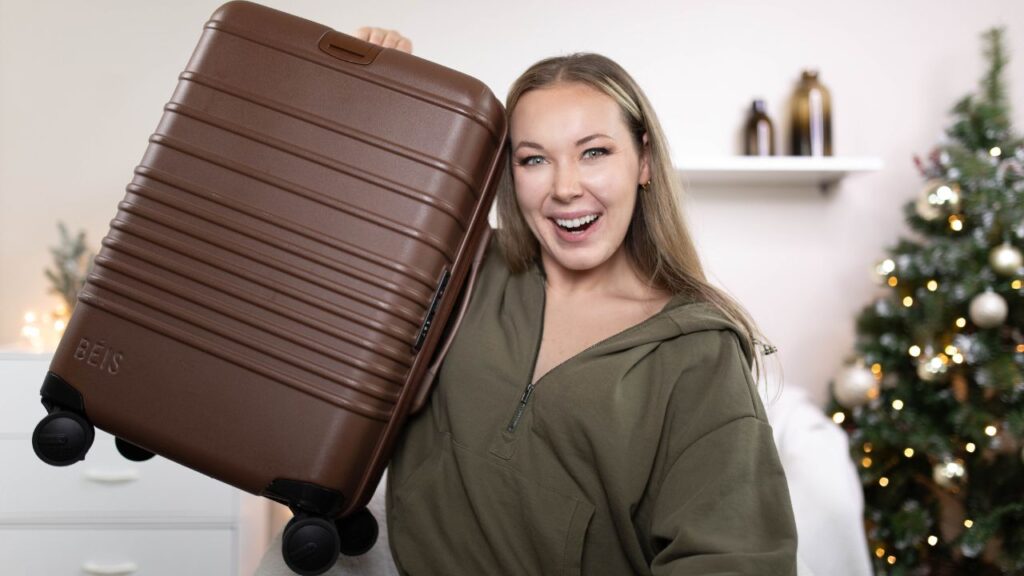
Choose The Correct Carry-On Luggage
The first step to pack lighter is to choose a piece of carry-on luggage that suits your packing style. If you’re reading this blog post, I’m assuming your packing style leans toward overpacking. This means you should choose the largest carry-on luggage possible. The standard limit for carry-on luggage is 22x14x9 inches (or 56x36x23 centimeters). You’ll want a carry-on suitcase that maximizes these dimensions so you can fit more in your carry-on and aren’t tempted to check an additional bag. My favorite large carry-on is the Beis carry-on roller. I have an entire review of the Beis carry-on here if you want to learn more about it. Click here for $20 your first Beis purchase.

Opt For A Large Personal Item
Similarly, you should choose a large personal item if you want to pack carry-on only as an overpacker. Most people think of a purse, brief case or crossbody bag when they think of a personal item when, in reality, you can use any bag that will fit underneath the airplane seat in front of you as your personal item. While personal item dimensions vary per airline, the standard dimensions for a personal item are roughly 18x14x8 inches (or 45x35x20 centimeters). This means you can usually carry large backpacks or even some weekender bags as your personal item. However, always check with your specific airline because, like I said, these dimensions vary per airline, and some airlines have weight restrictions on personal items. My favorite personal items are the Beis mini weekender bag (I love packing all of my cosmetics in the bottom compartment to free up suitcase space) and my Wandrd camera backpack. I rarely have any issue using these bags as my personal item.

Write Out A Packing List
The next mistake most overpackers make is that they don’t write out a packing list before packing. If you do not have a physical packing list to keep your packing in check, you are way more prone to overpack. With a packing list, you can visualize exactly what you need to wear in your destination, how many of each clothing article you need to pack, if any outfits can be worn multiple times and nothing more. I have a very specific way of creating a packing list to prevent overpacking. Here it is.
Day-By-Day Method Packing List
My favorite way to create an efficient packing list is what I like to call the day-by-day method (also known as my index card method if you’ve watched some of my packing tips on YouTube). In the day-by-day method, you start your packing list by listing each date and/or weekday of your trip from travel day to travel day. Then, next to each day, list the main itinerary spots and activities planned for each corresponding day. This will enable you to visualize what types of outfits you’ll need every day (i.e. fancy, casual, hiking, swimwear, etc.). Then, make a note of the forecasted weather for each day so you can pack accordingly. Finally, write how many days you’ll be traveling versus how many nights. This way, you’ll know exactly how many pairs of socks, underwear and pajamas to pack.

If there’s anything else you need to remember when packing for your trip, make a note of it below the day-by-day packing list as well (e.g. specific clothing items you can/cannot wear, laundry days if any, which outfits can be reworn for similar activity days, etc.)
I swear by this packing list method. Without it, I’m almost guaranteed to overpack. With it, I never pack more than I wear on my trip, and I never forget anything important. To make it easy for you, I’ve created a free downloadable day-by-day method packing list for you to print and fill out for your next trip. Download the free printable day-by-day method packing list here.
Pack Whole Outfits
In addition to the day-by-day packing method, packing whole outfits will prevent you from packing random clothing items that don’t match, that you won’t actually wear and that don’t fit perfectly (more on that next). Instead of thinking of your packing list as XZY number of shirts and XYZ number of pants, create whole outfits and designate one outfit for each day of your trip. That way, you know exactly what you need to pack and nothing more. You’ll also be able to physically see if certain clothing articles, especially pants, can be reworn with multiple outfits. Naturally, my day-by-day packing list will help you do this super easily. Plus, planning out a precise outfit for each day of your trip will enable you to get ready for each day faster on your trip and, therefore, enjoy your destination longer.
Physically Try On Your Outfits
Next, once you’ve planned out all of your outfits, I highly, highly recommend physically trying on your outfits — unless you’ve worn the exact outfits recently and know for a fact that you love them on. Yes, trying on your outfits takes a little extra time and may seem like overkill to some travelers, but, trust me. Knowing that you love the way an outfits looks, feels and fits comfortably on your body will keep you from packing unnecessary “what if I need this” and “maybe I’ll want this instead” clothing articles. Instead, you’ll be able to confidently pack only exactly what you’ll actually wear. Bye, bye, overpacking.
Ditch The Maybes And What-Ifs
Now, this tip to pack lighter may seem obvious, but some of you overpackers need permission. Ditch the maybes and what-ifs. Like I said earlier, if you follow the aforementioned steps of filling out the day-by-day packing list, checking the forecast for your trip, packing whole outfits and trying on your outfits before packing, ditching unnecessary packing list items will be significantly easier. However, if you’re still tempted, remember that you can almost always buy something if you need something you didn’t pack in your destination. And, this rarely happens anyway.
Use Packing Cubes To Stay Organized
Most people are using packing cubes wrong. Many travelers believe that packing cubes help you pack more, but I disagree. As a tempted overpacker, using packing cubes with the goal of packing more is only going to enable me to overpack more (shocker). Instead, the goal of packing cubes for overpackers should be to stay organized throughout your trip. After you have planned out all of your trip outfits, you need to stay organized. Not only will staying organized keep your suitcase tidy, but it also makes packing, unpacking in your hotel, repacking for departure and unpacking at home so much easier. Additionally, I suggest packing your packing cubes by outfit rather than clothing article, stacking the outfits you’ll wear first on top of the packing cube, as this will help you remember which outfits you planned while on your trip. Socks and underwear should go in a separate packing cube as well, just in case your suitcase nightmarishly opens on the baggage claim conveyor belt. Embarrassment crisis adverted. I use the Beis packing cubes and love them.
Do Laundry On Your Trip
Furthermore, don’t be afraid to do laundry on your trip! Laundromats are easy to find in most destinations. But, if you’re an introvert like me, maybe laundromats in foreign places aren’t your jam. That’s okay. I’m right there with you. Don’t worry, you can still do laundry on your trip to pack lighter and rewear outfits. First, many hotels have coin washers and dryers you can use. Or, my preferred laundry method is using a Scrubba portable washing machine to do laundry right in the comfort of my hotel room. All you have to do is fill the Scrubba with your dirty laundry, add your detergent (I like this detergent because it is non-toxic, acne-safe and non-liquid), fill the bag with hot water from the shower and shake. Wring out your clothes and hang them up around your hotel room to dry. You will be shocked at how much dirt this portable washer removes from your clothes!
Master The Roll And Fold Method
Have you ever heard of the “roll don’t fold” method for packing? Well, I prefer the roll and fold method, especially for travelers prone to overpacking. Instead of either rolling or folding all of your clothes, the roll and fold method means you roll all of your thin clothes and fold all of your thick clothes. In practice, thin clothing items, such as cotton T-shirts, athletic wear and leggings, roll extremely small and easily pack into any nook and cranny of your packing cube. However, thick clothing items, such as bulking sweaters, sweatshirts or jeans, roll up thick (again, shocker), which means they pack bulkier. So, I personally find it more efficient to fold my bulky clothing items flat and then squeeze my thinly rolled clothing items around the folded bulky items.
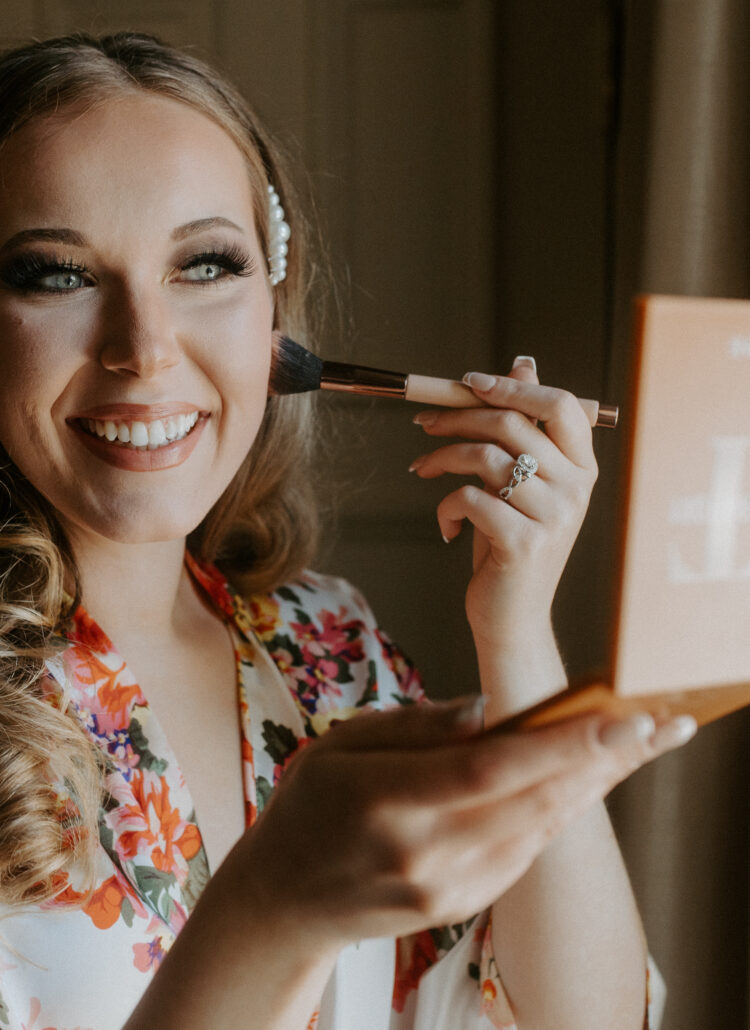
Pack Minimal Cosmetics
Like clothing, you should ditch the unnecessary cosmetics as well. Although cosmetics seem small individually, multiple cosmetic bottles are bulky and can take up a lot of suitcase space. So, you should only pack cosmetics that you absolutely need daily for the duration of your trip. For example, sometimes, I skip packing conditioner because, well, my hair will survive a week on shampoo alone. Better yet, you can skip shower products altogether and stick to free hotel products if you’re not picky about product ingredients like I am. Moreover, to minimize cosmetics even more, complete all of your weekly cosmetic maintenance checklist items, such as hair removal, teeth whitening, nail polish, etc., before your trip. That way, you won’t need to pack any of those weekly maintenance cosmetic tools for your trip.
Condense Liquids Into Small Containers
Similarly, minimize cosmetic liquids down into small travel size containers to pack lighter. This is a tried-and-true, age-old packing tip because it works. It’s also necessary if you’re packing carry-on only, as you’re legally limited to how many liquid items you can carry on the plane. I really these glass containers from Amazon for my larger liquids because they are dishwasher safe and easy to reuse. Alternatively, you can pack solid versions of cosmetics, such as a shampoo bar, conditioner bar, lotion bar or sunscreen stick. Better yet, you can cut a small chunk of said cosmetic bars off because you probably won’t need the entire bar for your trip. Or, you can even turn some liquids into solids by pre-wetting cotton rounds with the cosmetic. I like to do this particularly with watery cosmetics like toners.
Pack Two Pairs Of Shoes Maximum
Moving on from cosmetics, let’s talk about arguably the bulkiest item you pack for every trip: shoes. To pack lighter, it is essential that you narrow down the number of shoes you’re packing. My rule of thumb? Pack two pairs of shoes maximum. Only pack shoes than are versatile, comfortable for walking and match a variety of the outfits you’re packing. If the shoes you’re considering don’t check all of those boxes, ditch them. I almost always only pack my neutral-colored tennis shoes (or hiking boots for hiking trips) and a pair or sandals (that are waterproof and can be dressed up or down). You can check out all of my versatile waterproof shoes that can be dressed up in this blog post. Most of the time, I wear my tennis shoes (or hiking boots) on my travel day, and only pack one other pair in my carry-on luggage. After you narrow your shoes, pack them next to the wheels of your suitcase. That way, the heavy shoes won’t crush anything lighter weight in your suitcase when your suitcase is upright.

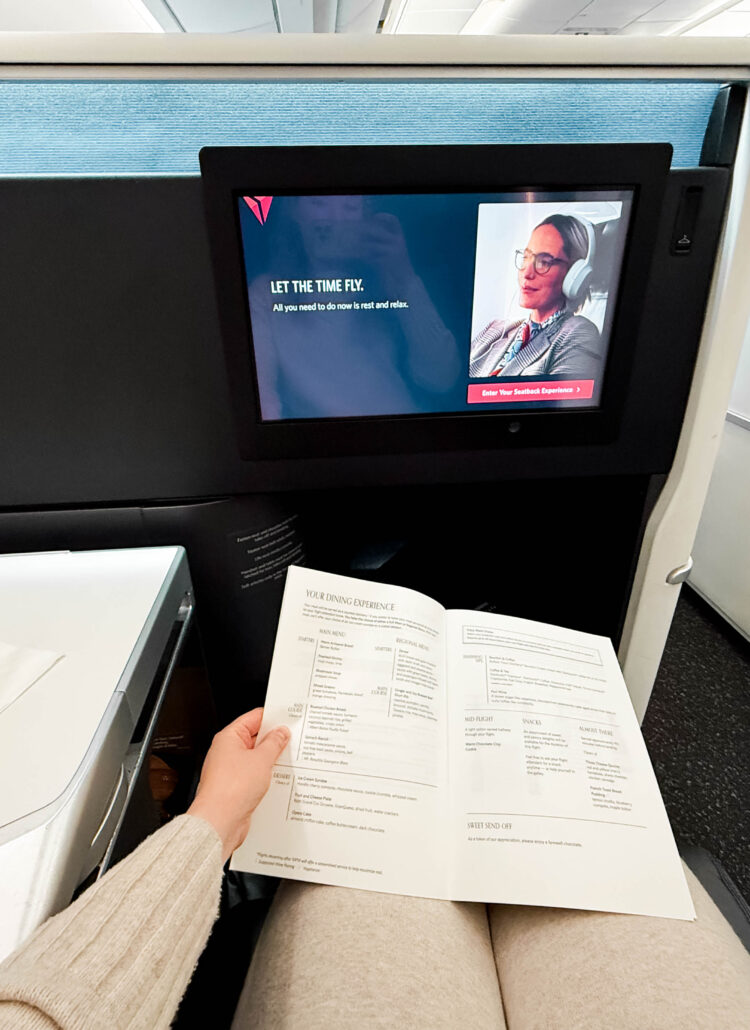
Wear Your Bulkiest Shoes On The Plane
Speaking of which, wear your bulkiest shoes on the plane so that you don’t have to pack them. I know wearing bulky shoes has been a hassle going through security in the past. And, I know that bulky shoes aren’t necessarily the most comfortable on long flights. But, I promise, wearing your bulkiest shoes on your travel days can save nearly a quarter of your suitcase space. That’s a huge suitcase space saver. As clunky as wearing hiking boots through the airport feels, I always do it.
Save Packing Your Jackets And Coats For Last
Last, but certainly not least, save packing your bulky jackets and coats for last. Worst case scenario, if you’re out of suitcase space, you can still bring your coat. You just have to wear it on the plane and carry it through the airport. Sometimes, wearing your coat on the plane is actually a perk, as most plane rides are chilly. Best case scenario, you can pack your coat last — right on top of your packing cubes — if you have the space. Alternatively, you can try using vacuum seal travel bags to pack your bulky coats down flatter. Basically, this tip on how to pack lighter is the same principle as wearing your shoes on the plane. Avoid packing your bulkiest items in your suitcase.
And there you have it! This is exactly how to pack lighter for any length trip. Read this blog post next for even more carry-on packing tips: 17 Carry-On Packing Tips You’ve Never Heard Before.
More Tips On How To Pack Lighter
17 Carry-On Packing Tips You’ve Never Heard Before
13 Travel Essentials To Make Carry-On Only Packing A Breeze
In-Depth Beis Carry-On Luggage Review After 2+ Years
Save This Guide On How To Pack Lighter
Save this guide on how to pack lighter for any length trip for later by sharing to your socials.


Leave a Reply